
Create a UPS shipment and label from an order
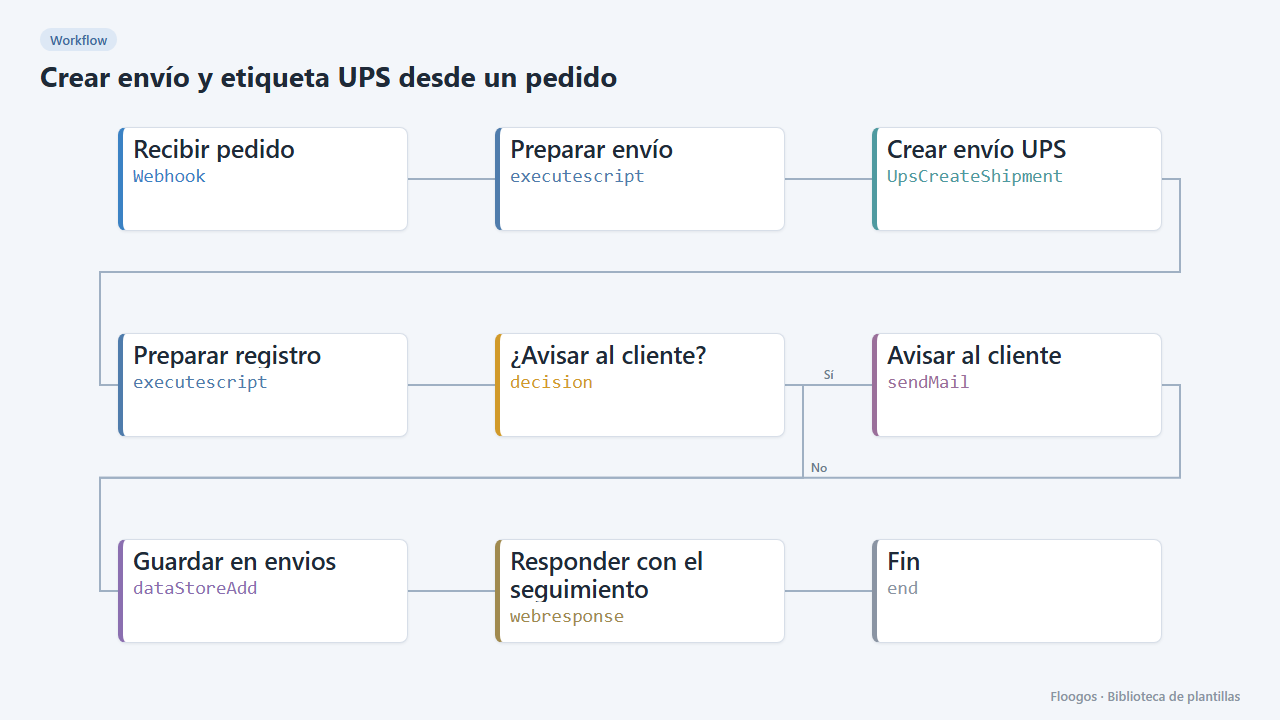
When an order arrives via webhook it creates the UPS shipment, saves the tracking in a Data Store and emails the customer.
Everything is created inactive in a new folder of your account. Nothing runs until you activate it, and you can undo it for 24 hours.
What it does
Connect your shop or ERP to UPS: every order arriving via webhook becomes a shipment with its label, without touching the carrier portal. The workflow builds the sender and recipient in the exact format UPS requires, creates the shipment, stores the tracking number in the envios Data Store (the same one used by automatic tracking and the logistics dashboard) and emails the customer the tracking link.
What you need: UPS credentials allowed to create shipments and a mail account.
How to use it: install the template, enter your warehouse details, connect UPS and email and send a test order to the webhook.
How to set it up
- 1
Connect the UpsCreateShipment credential
This template uses UpsCreateShipment in: Crear envío UPS. Create or pick the credential and assign it in those nodes.
- 2
Connect the smtp credential
This template uses smtp in: Avisar al cliente. Create or pick the credential and assign it in those nodes.
- 3
Copy the webhook URL (Recibir pedido)
A new URL is generated on install. Paste it into the external system that must call this workflow.
- 4
Open the dashboard "Panel de logística"
Check that the test data shows up.
- 5
Set your warehouse details
In the Preparar envío node, at the top of the script, replace the
REMITENTEdata (name, address, postal code, phone, email) with your warehouse details. - 6
Review the UPS service
The Preparar envío script uses service
11(UPS Standard). Change it to your contracted service code; the account number is taken from the credentials. - 7
Connect UPS and email
Select your credentials in Crear envío UPS and the mail account in Avisar al cliente.
- 8
Test with an order
Send a
POSTto the webhook with{"pedido":"PED-1001","nombre":"Ana López","email":"ana@ejemplo.com","telefono":"+34600000001","direccion":"Av. Diagonal 100","ciudad":"Barcelona","provincia":"B","cp":"08019","pais":"ES","peso_kg":1.5,"descripcion":"Pedido web"}. The shipment should be created, saved in theenviosData Store and the customer should get the email. - 9
Activate the workflow
Workflows are installed inactive. Once everything is set, activate it.
Related templates
Other templates that use similar nodes or integrations.
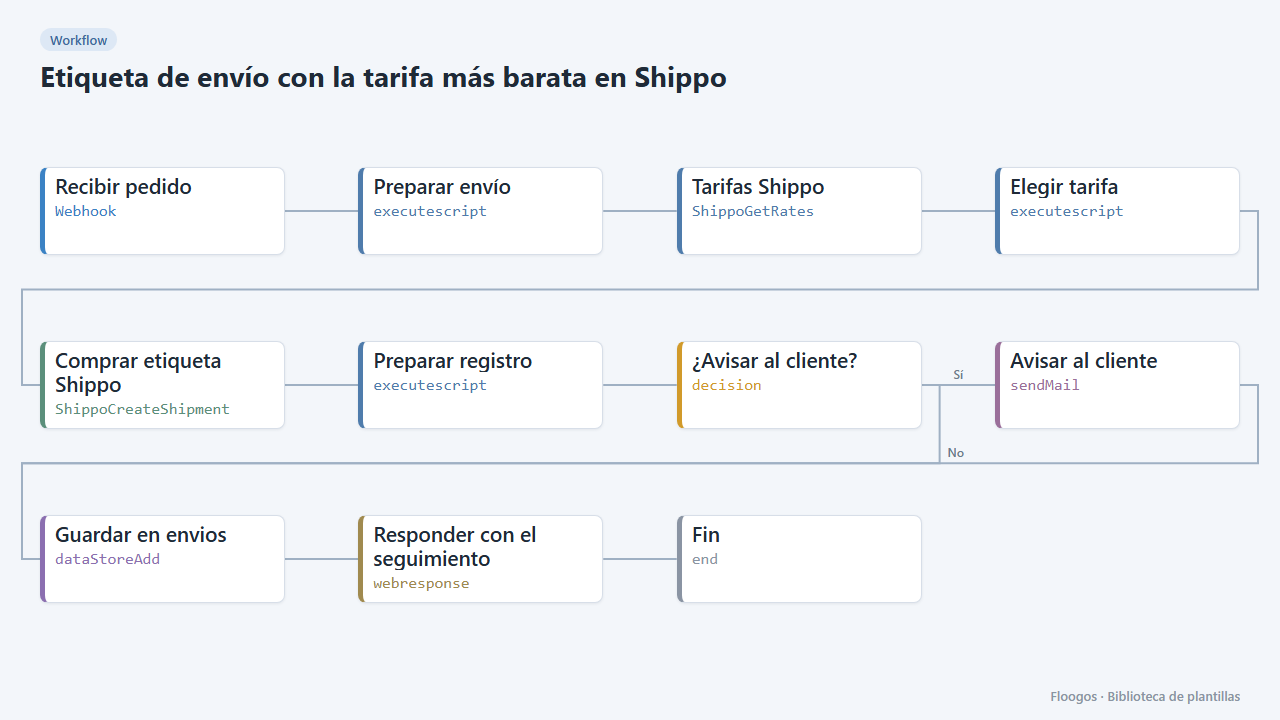
Shipping label with the cheapest rate in Shippo
When an order arrives it requests rates from every carrier in Shippo, buys the cheapest, saves the tracking and notifies the customer.
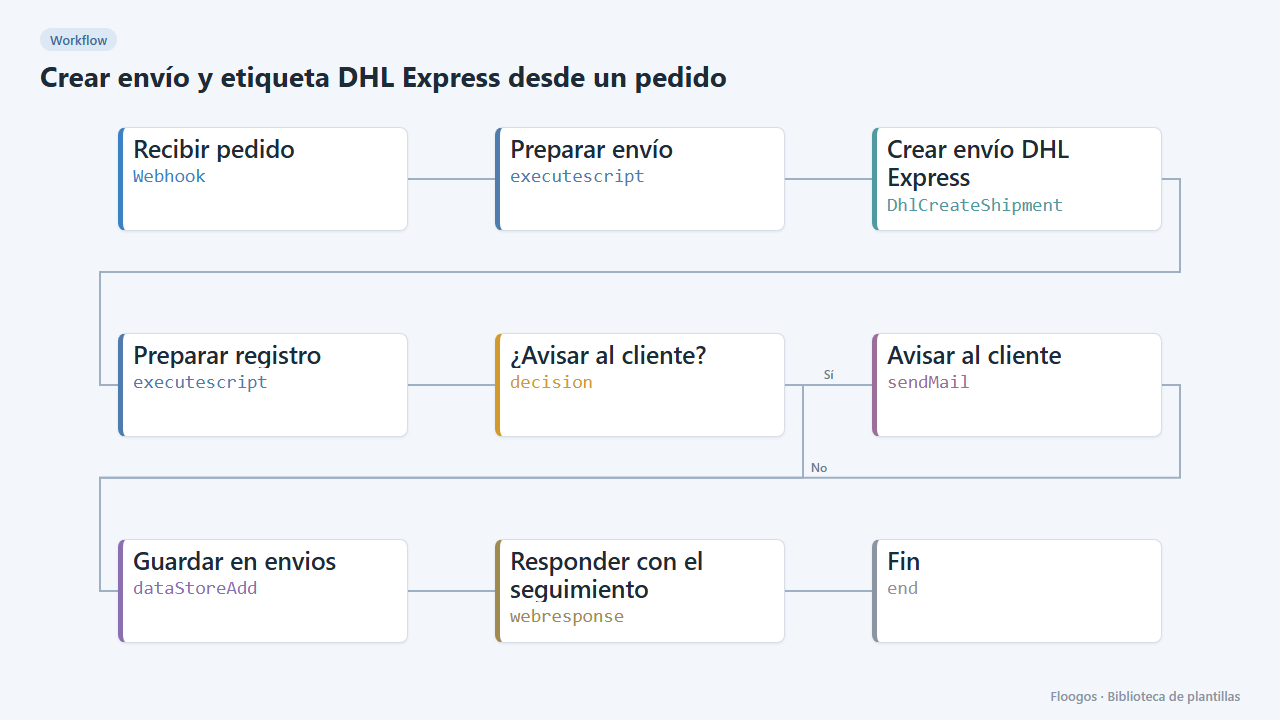
Create a DHL Express shipment and label from an order
When an order arrives via webhook it creates the DHL Express shipment, saves the tracking in a Data Store and emails the customer.
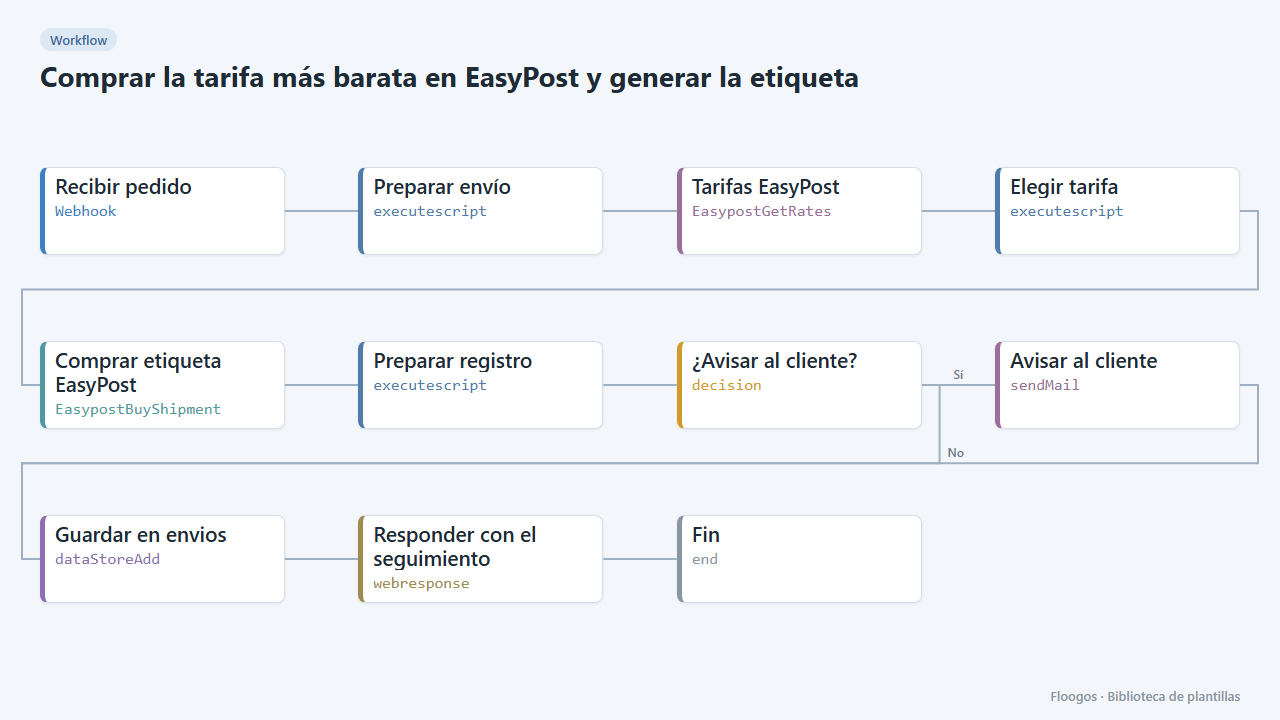
Buy the cheapest rate in EasyPost and generate the label
When an order arrives it compares EasyPost rates, buys the cheapest, saves the tracking and emails the customer.
Try it in under 5 minutes
Create the template in your account, connect your credentials and activate it when you are ready.
Use this template