
AFIP e-invoice (Argentina) sent by email
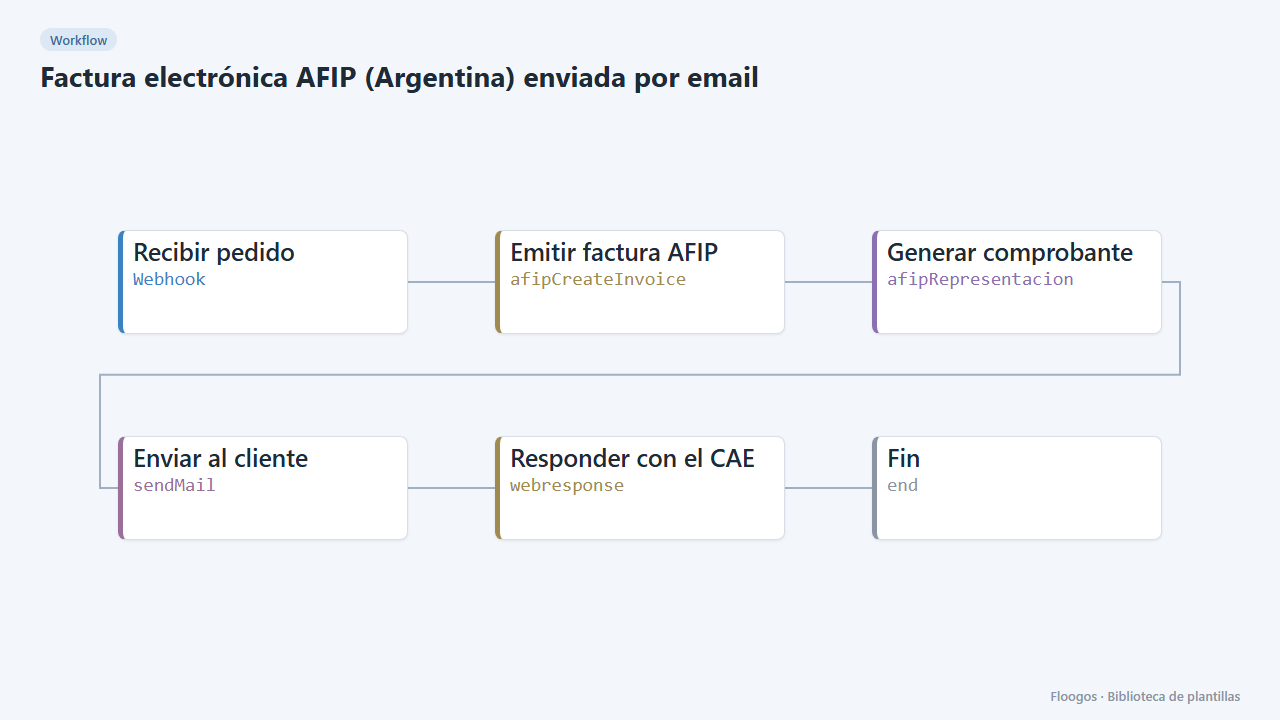
Receive an order via webhook, issue the electronic invoice with AFIP, get the CAE and email the receipt with its QR code to the customer.
Everything is created inactive in a new folder of your account. Nothing runs until you activate it, and you can undo it for 24 hours.
What it does
Automates invoicing in Argentina end to end. Every order reaching the webhook URL is invoiced with AFIP (the node works out the next voucher number and requests the CAE), the printable receipt with the official QR code is generated and emailed to the customer. It replies to the source system with the CAE and voucher number.
What you need: an AFIP SDK credential (CUIT, certificate and key; start in the testing environment) and an SMTP account.
How to use it: install the template, connect the credentials, adjust the point of sale and voucher type in the Emitir factura AFIP node and send orders to the webhook.
How to set it up
- 1
Connect the afip credential
This template uses afip in: Emitir factura AFIP. Create or pick the credential and assign it in those nodes.
- 2
Connect the smtp credential
This template uses smtp in: Enviar al cliente. Create or pick the credential and assign it in those nodes.
- 3
Copy the webhook URL (Recibir pedido)
A new URL is generated on install. Paste it into the external system that must call this workflow.
- 4
Start in the testing environment
Create the AFIP credential with the testing environment and check the point of sale (
1by default) and voucher type (6= Invoice B) in the Emitir factura AFIP node. Move to production only when tests pass. - 5
Send a test order
Send a
POSTto the webhook with{"total":1210,"doc_type":"99","doc_number":"0","email":"customer@example.com","nombre":"Final consumer"}. The customer gets the receipt and the webhook replies with the CAE. - 6
Activate the workflow
Workflows are installed inactive. Once everything is set, activate it.
Related templates
Other templates that use similar nodes or integrations.
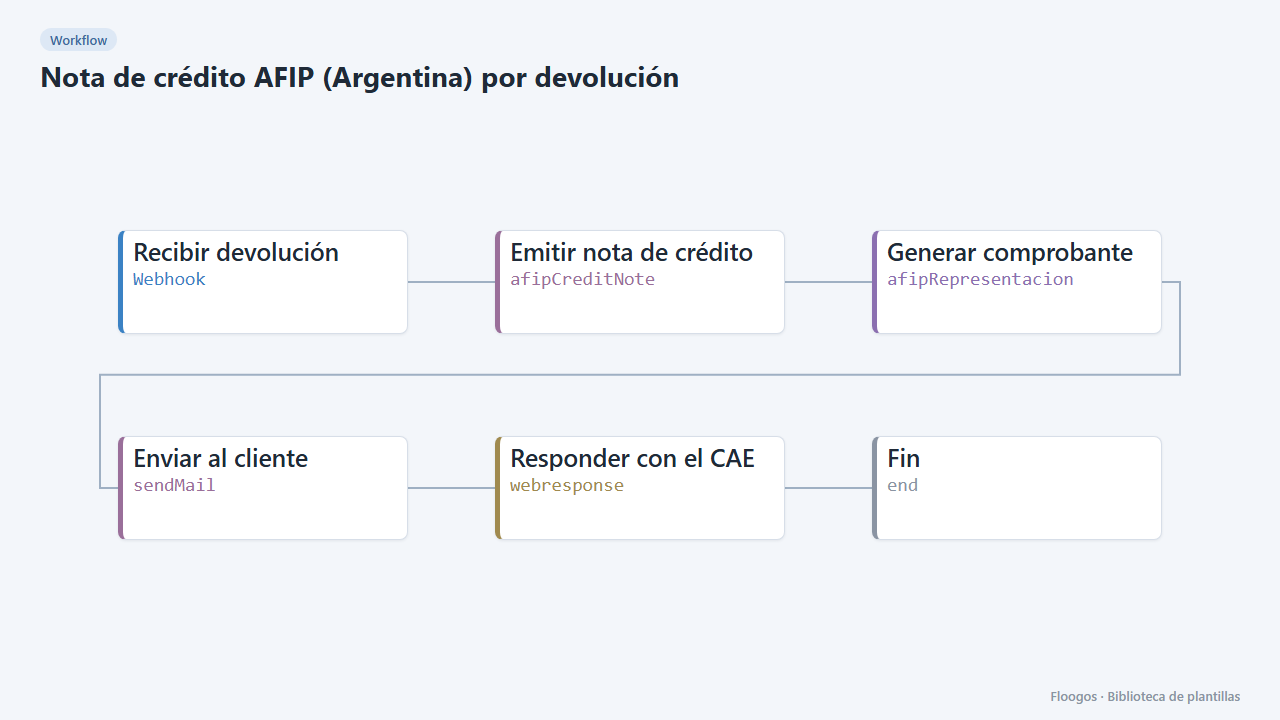
AFIP credit note (Argentina) for returns
When a sale is cancelled or returned, issue the AFIP credit note linked to the original invoice and send it to the customer.
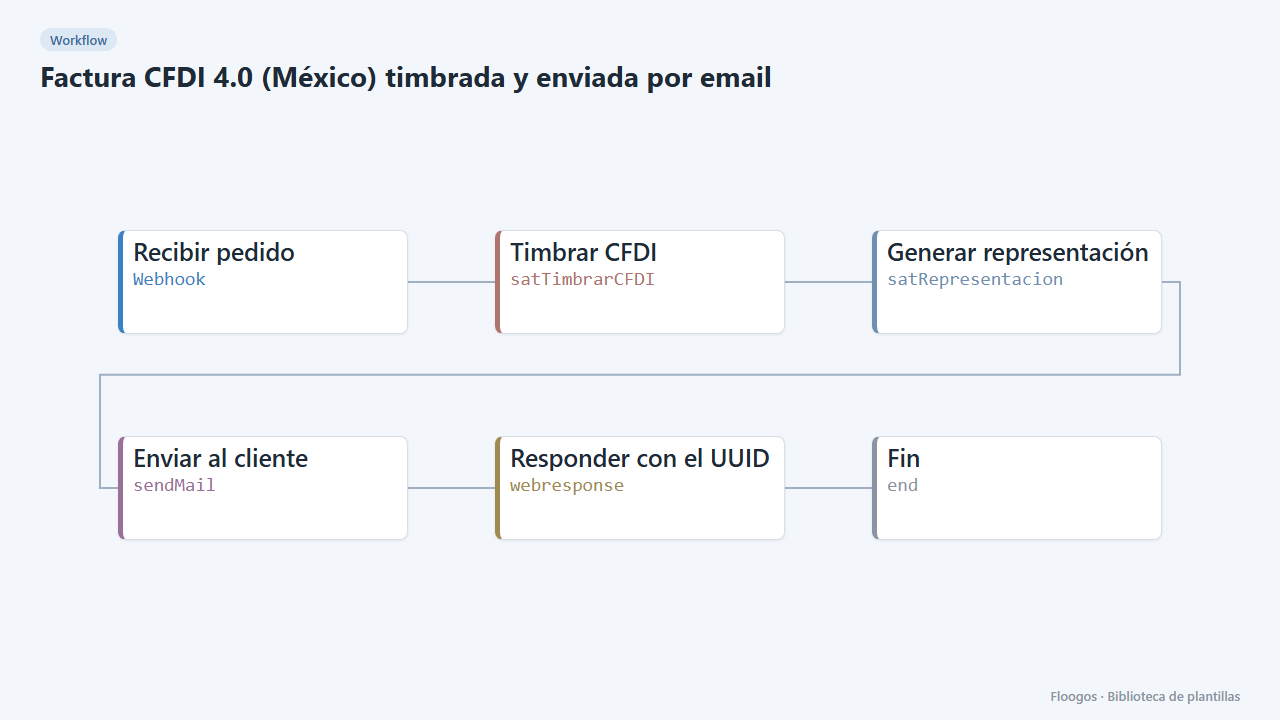
CFDI 4.0 invoice (Mexico) stamped and emailed
Receive an order, build and stamp the CFDI 4.0 through your PAC and email the printable version with its UUID to the customer.
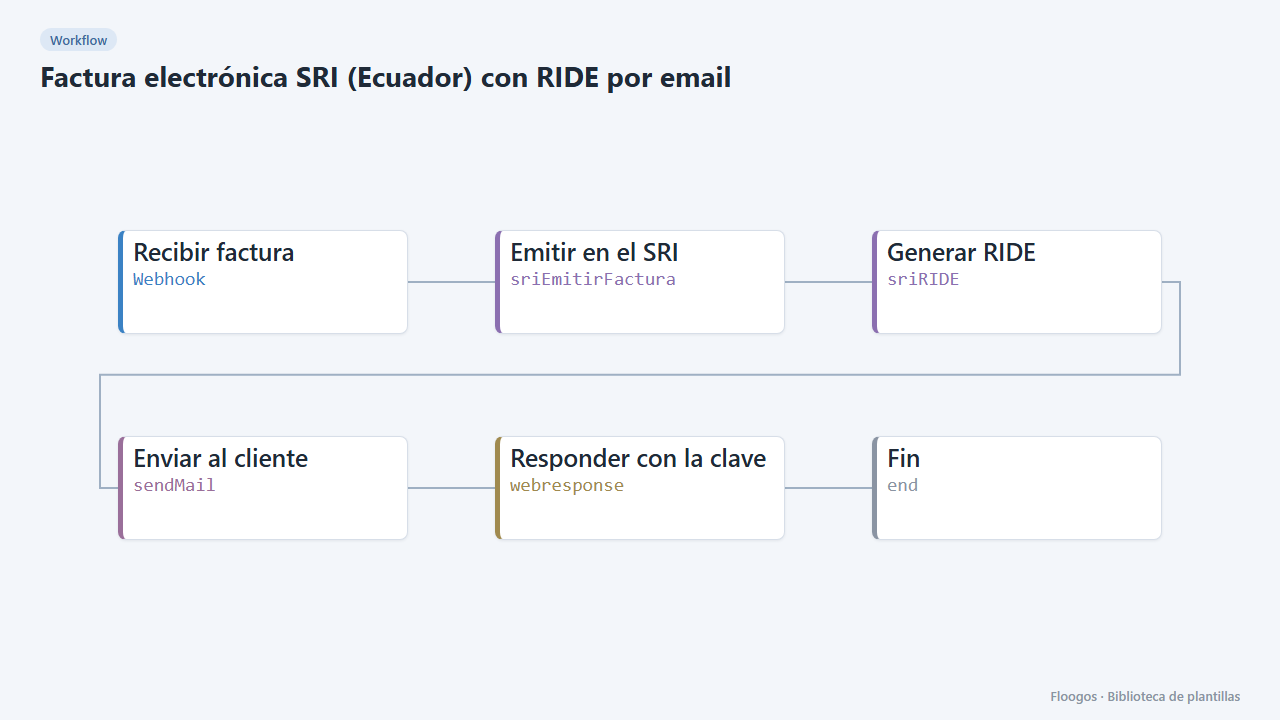
SRI e-invoice (Ecuador) with RIDE by email
Issue the electronic invoice with the SRI, wait for authorization and email the RIDE with its access key to the customer.
Try it in under 5 minutes
Create the template in your account, connect your credentials and activate it when you are ready.
Use this template