
Shopify orders to a Google Sheets spreadsheet
Every new order in your Shopify store is added as a row in Google Sheets: date, order, customer, amount and payment status.
Everything is created inactive in a new folder of your account. Nothing runs until you activate it, and you can undo it for 24 hours.
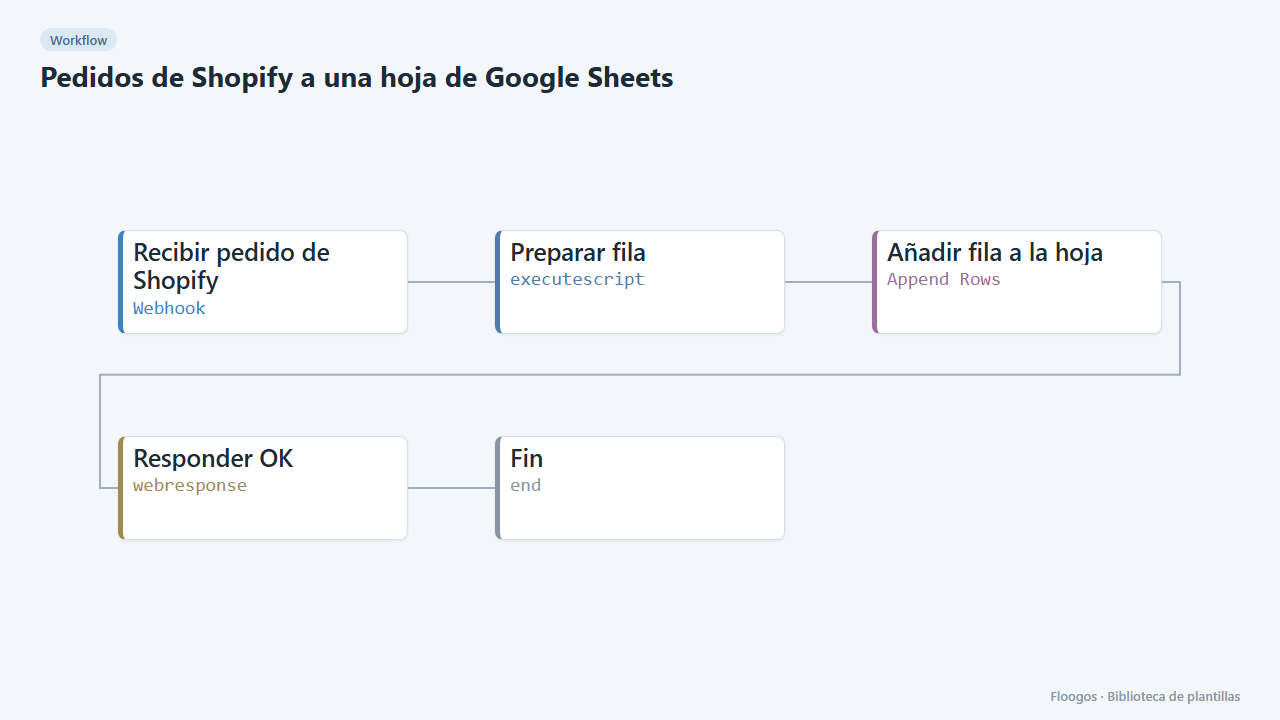
What it does
Keep a spreadsheet always up to date with your orders, no copy and paste. Shopify notifies each new order through a webhook, the workflow reduces it to the important columns and appends it to the end of your Google Sheets spreadsheet. Ideal for reports, reconciliations or sharing sales with people who have no Shopify access.
What you need: a Google account connected to Floogos and a spreadsheet with a tab called Pedidos.
How to use it: install the template, connect Google and pick the spreadsheet. Then, in Shopify, go to Settings → Notifications → Webhooks and create a webhook for the "Order creation" event (JSON format) with this workflows URL.
Note: if Shopify retries a notification, the order may appear duplicated in the spreadsheet.
How to set it up
- 1
Connect the google credential
This template uses google in: Añadir fila a la hoja. Create or pick the credential and assign it in those nodes.
- 2
Copy the webhook URL (Recibir pedido de Shopify)
A new URL is generated on install. Paste it into the external system that must call this workflow.
- 3
Connect Google and pick the sheet
In the Añadir fila a la hoja node connect your Google account and pick the spreadsheet. Create a tab called
Pedidosin it (or change the name in the range field). - 4
Create the webhook in Shopify
In Shopify: Settings → Notifications → Webhooks → Create webhook. "Order creation" event, JSON format and this workflows webhook URL.
- 5
Test with an order
Send a
POSTto the URL with{"id":1001,"name":"#1001","created_at":"2026-01-15T10:30:00Z","email":"ana@example.com","total_price":"89.99","currency":"EUR","financial_status":"paid","customer":{"first_name":"Ana","last_name":"Perez"},"line_items":[{}]}. A new row should appear in thePedidostab. - 6
Activate the workflow
Workflows are installed inactive. Once everything is set, activate it.
Related templates
Other templates that use similar nodes or integrations.
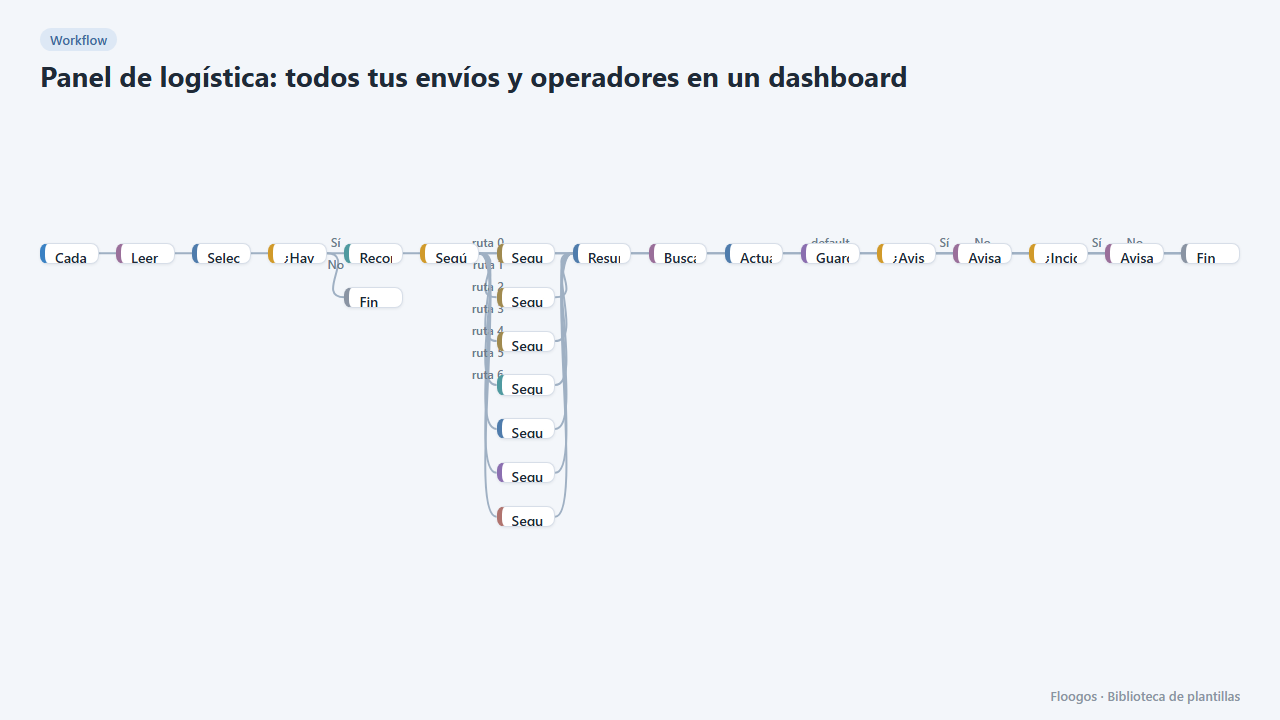
Logistics panel: all your shipments and carriers in one dashboard
Dashboard with KPIs, charts, filters and a side detail panel per shipment, fed by automatic tracking of DHL, FedEx, UPS, SEUR, Sendcloud, Shippo and EasyPost.
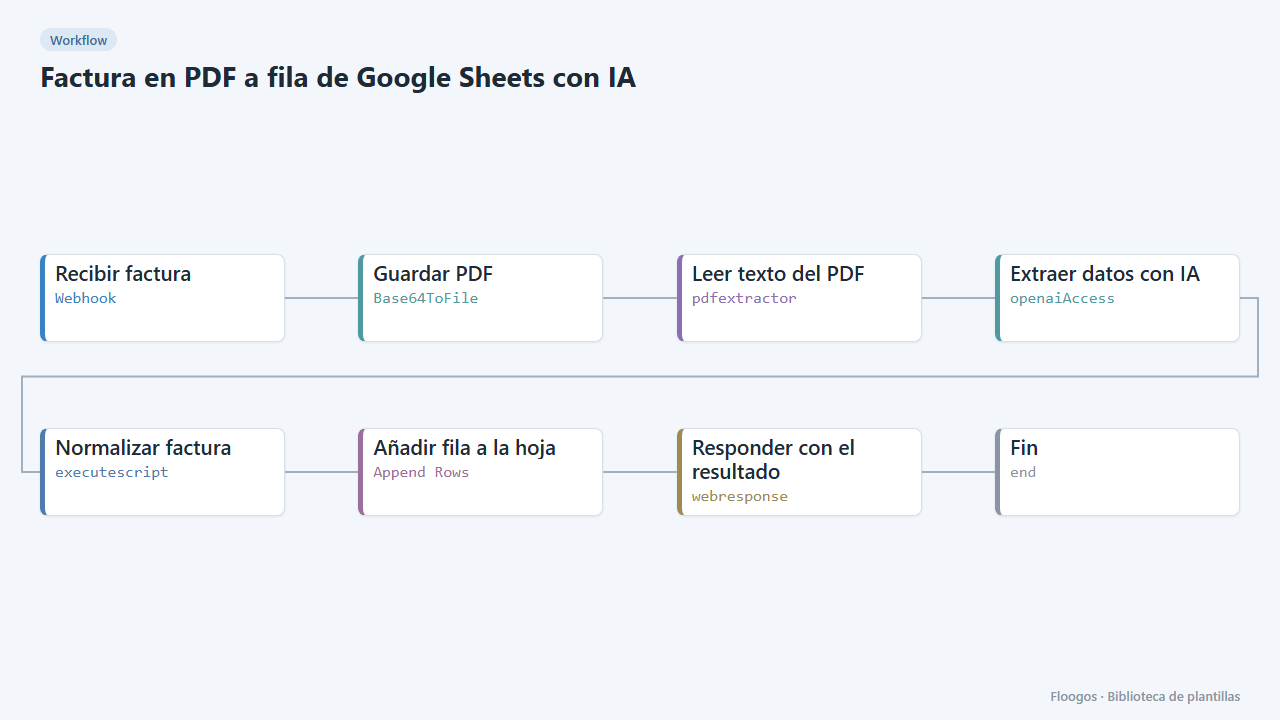
PDF invoice to a Google Sheets row with AI
Receive a PDF invoice, AI extracts supplier, tax ID, number, date, net, VAT, total and lines, validates the amounts and adds a row to your sheet.
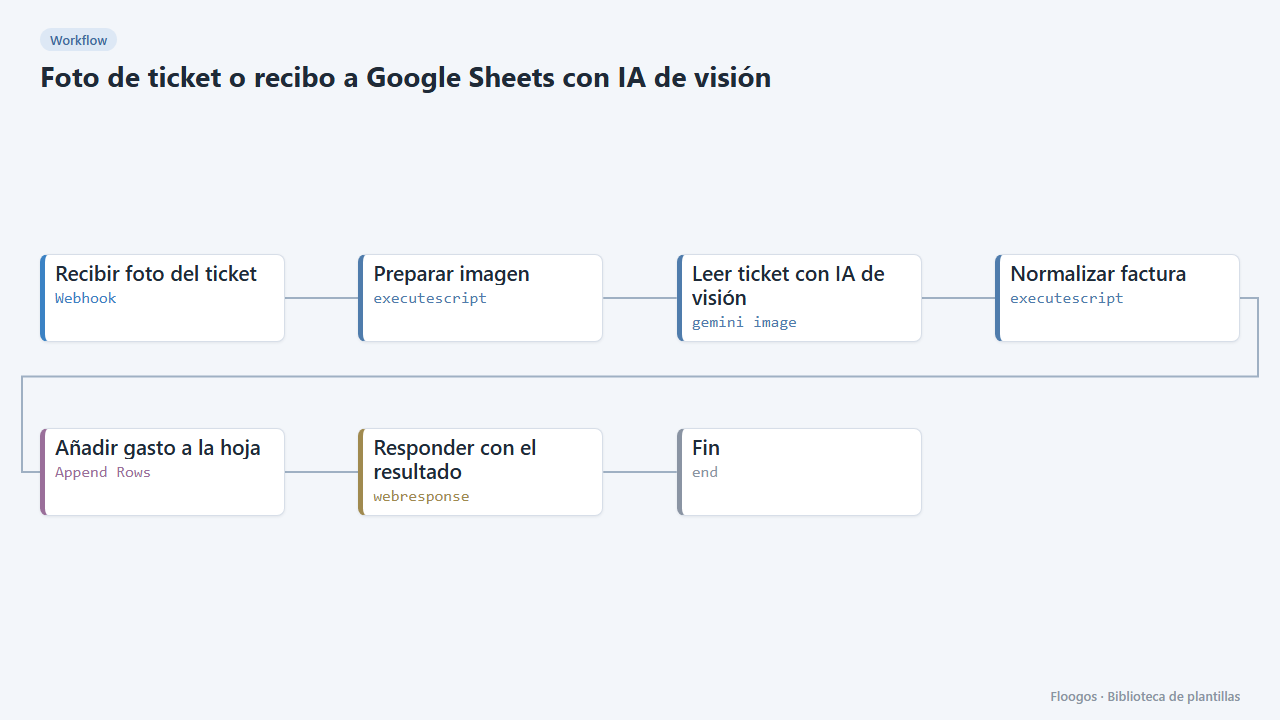
Receipt photo to Google Sheets with vision AI
Send a photo of a receipt: Gemini vision AI reads merchant, date, amounts and lines, validates them and logs them as an expense in your sheet.
Try it in under 5 minutes
Create the template in your account, connect your credentials and activate it when you are ready.
Use this template