
Logistics panel: all your shipments and carriers in one dashboard
Dashboard with KPIs, charts, filters and a side detail panel per shipment, fed by automatic tracking of DHL, FedEx, UPS, SEUR, Sendcloud, Shippo and EasyPost.
Everything is created inactive in a new folder of your account. Nothing runs until you activate it, and you can undo it for 24 hours.
What it does
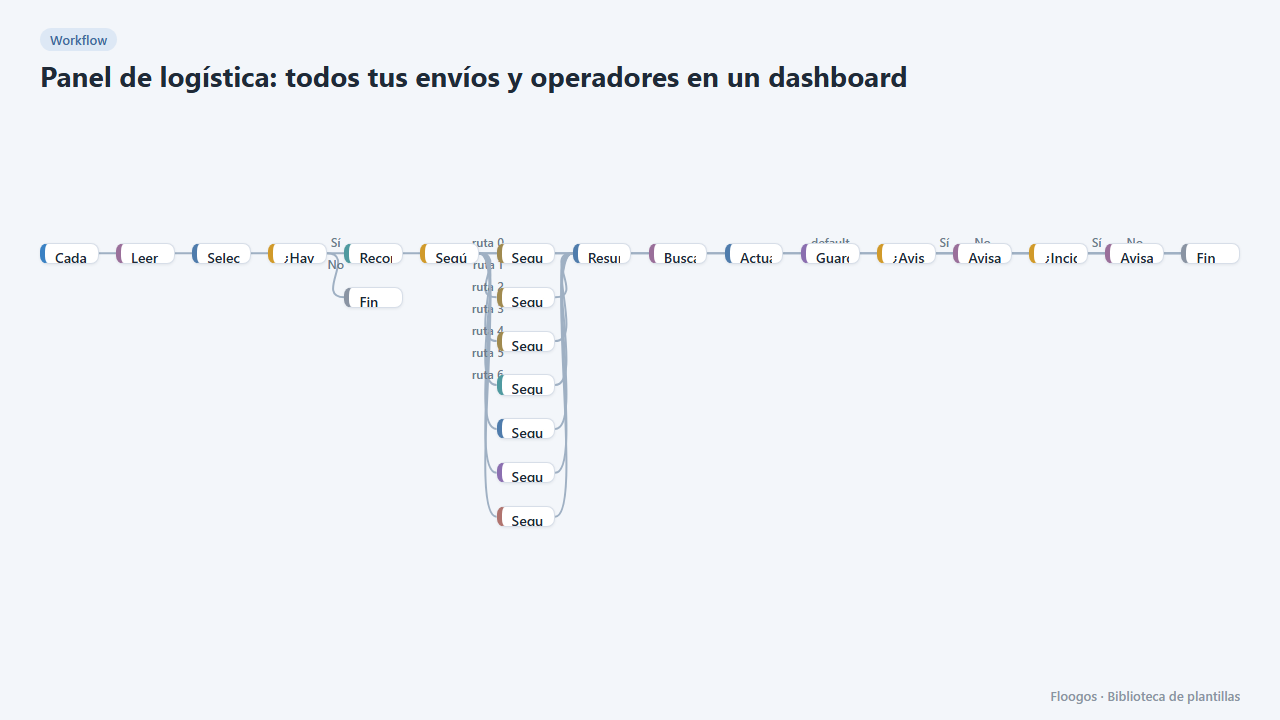
A single panel to know how all your shipments are doing, whatever the carrier. It shows total shipments, delivered, in transit, incidents, the on-time delivery % and the average cost; charts by status, by carrier, by day and cost per carrier; and a shipments table where a click opens a side detail panel with all the shipment data. With the filters at the top (carrier, status, punctuality and search) you switch data on or off for the whole panel at once.
It feeds itself: a scheduled workflow queries every few hours the real status of in-flight shipments in DHL, FedEx, UPS, SEUR, Sendcloud, Shippo or EasyPost, updates the envios Data Store and emails the customer (out for delivery, delivered, incident) and your team (incidents and delays). Shipments enter the panel from the “Create shipment…” templates or, if you create them in the carrier portal, with the included manual registration form.
What you need: credentials for the carriers you use and a mail account. Remove from the workflow the carriers you do not have.
Note: this template already includes automatic tracking; do not also install the “Automatic shipment tracking” template, to avoid duplicated alerts.
How to set it up
- 1
Connect the DhlGetTracking credential
This template uses DhlGetTracking in: Seguimiento DHL. Create or pick the credential and assign it in those nodes.
- 2
Connect the FedexGetTracking credential
This template uses FedexGetTracking in: Seguimiento FedEx. Create or pick the credential and assign it in those nodes.
- 3
Connect the UpsGetTracking credential
This template uses UpsGetTracking in: Seguimiento UPS. Create or pick the credential and assign it in those nodes.
- 4
Connect the SeurGetTracking credential
This template uses SeurGetTracking in: Seguimiento SEUR. Create or pick the credential and assign it in those nodes.
- 5
Connect the SendcloudGetTracking credential
This template uses SendcloudGetTracking in: Seguimiento Sendcloud. Create or pick the credential and assign it in those nodes.
- 6
Connect the ShippoGetTracking credential
This template uses ShippoGetTracking in: Seguimiento Shippo. Create or pick the credential and assign it in those nodes.
- 7
Connect the EasypostGetTracking credential
This template uses EasypostGetTracking in: Seguimiento EasyPost. Create or pick the credential and assign it in those nodes.
- 8
Connect the smtp credential
This template uses smtp in: Avisar al cliente, Avisar al equipo. Create or pick the credential and assign it in those nodes.
- 9
Copy the webhook URL (Recibir envío)
A new URL is generated on install. Paste it into the external system that must call this workflow.
- 10
Publish and test the form "Registrar envío"
Open it, publish it and submit a test entry to check the workflow starts.
- 11
Open the dashboard "Panel de logística"
Check that the test data shows up.
- 12
Connect the carriers and email
In the Seguimiento automático de envíos workflow select the credentials of each “Seguimiento …” node and the mail account in Avisar al cliente and Avisar al equipo (also change the team email). Delete the carriers you do not use.
- 13
Add the first shipments
Create shipments with the “Create shipment…” templates (which write to the
enviosData Store) or register the ones you already have with the Registrar envío form. The dashboard is empty until there are rows. - 14
Enable tracking and open the panel
Run Seguimiento automático de envíos once by hand, open the Panel de logística dashboard and try the filters and the row click. Then enable the schedule (every 3 hours). A shipment counts as late after 5 days if it has no estimated delivery date.
- 15
Activate the workflow
Workflows are installed inactive. Once everything is set, activate it.
Related templates
Other templates that use similar nodes or integrations.
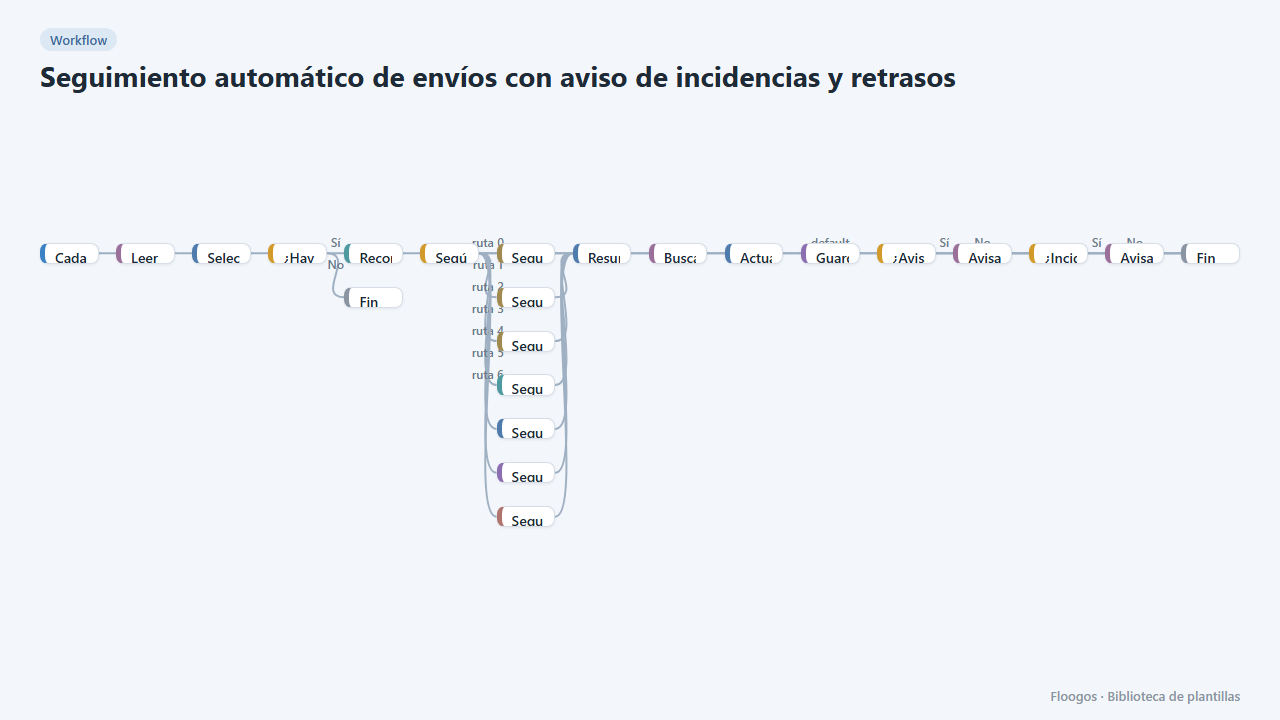
Automatic shipment tracking with incident and delay alerts
Every 3 hours it queries the status of in-flight shipments in DHL, FedEx, UPS, SEUR, Sendcloud, Shippo or EasyPost and notifies the customer and your team.
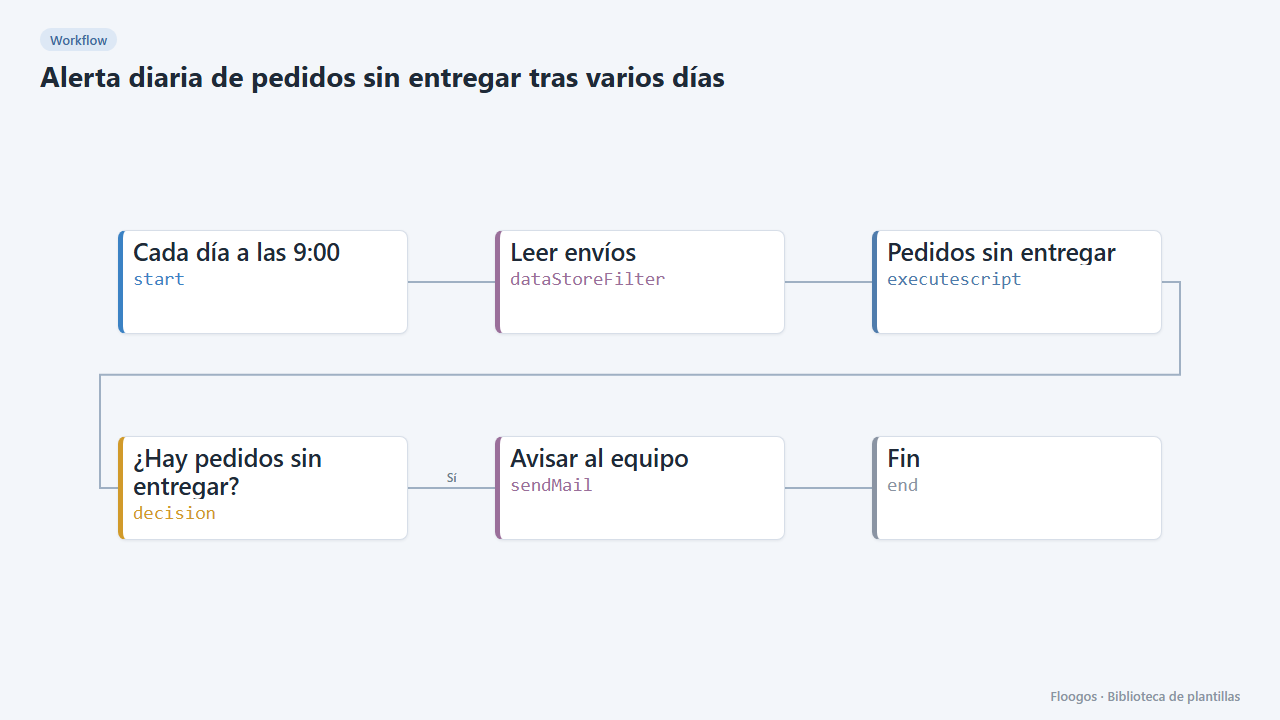
Daily alert for orders not delivered after several days
Every morning it checks the shipments Data Store and emails your team a table of orders still undelivered after more than 4 days.
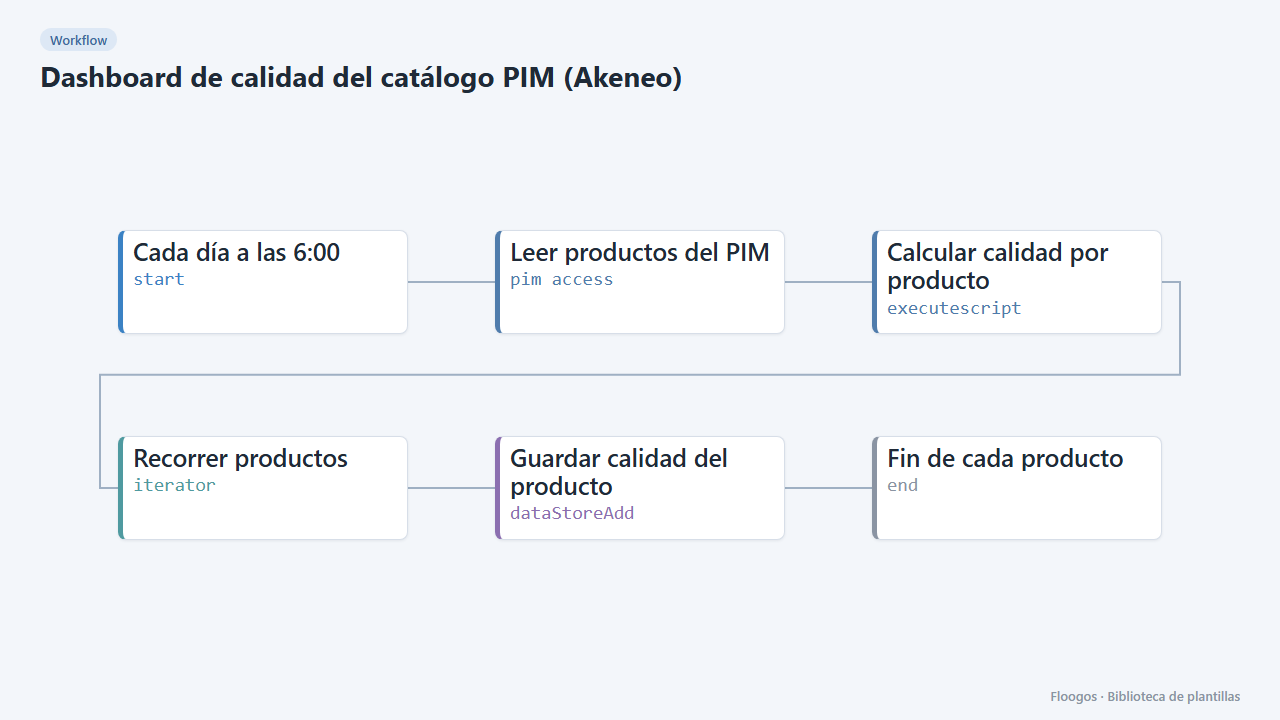
PIM catalogue quality dashboard (Akeneo)
Every morning it scores the quality of each product in your PIM and shows it in a dashboard with KPIs, charts, filters and a side detail panel per product.
Try it in under 5 minutes
Create the template in your account, connect your credentials and activate it when you are ready.
Use this template