
Automatic shipment tracking with incident and delay alerts
Every 3 hours it queries the status of in-flight shipments in DHL, FedEx, UPS, SEUR, Sendcloud, Shippo or EasyPost and notifies the customer and your team.
Everything is created inactive in a new folder of your account. Nothing runs until you activate it, and you can undo it for 24 hours.
What it does
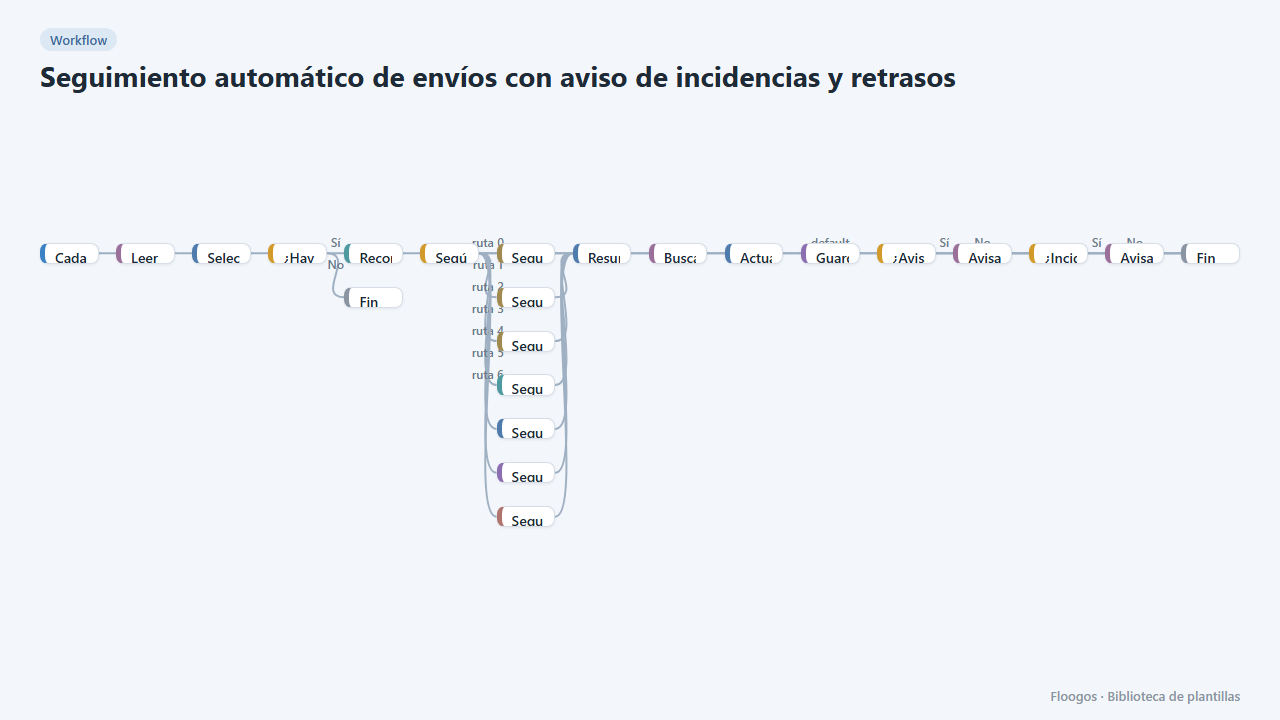
Forget checking carrier portals. A scheduled workflow reads in-flight shipments from the envios Data Store, asks each carrier for its real status, updates the row and notifies: the customer when the parcel is out for delivery, delivered or has an incident, and your team when there is an incident or the shipment is late (past the estimated date or, if none, after 5 days).
It includes a manual registration form for shipments you create in the carrier portal. Shipments created by the “Create shipment…” templates enter automatically.
What you need: credentials for the carriers you use and a mail account. Remove from the workflow the carriers you do not have.
Note: if you install the “Logistics panel” template it already includes this tracking; do not install both.
How to set it up
- 1
Connect the DhlGetTracking credential
This template uses DhlGetTracking in: Seguimiento DHL. Create or pick the credential and assign it in those nodes.
- 2
Connect the FedexGetTracking credential
This template uses FedexGetTracking in: Seguimiento FedEx. Create or pick the credential and assign it in those nodes.
- 3
Connect the UpsGetTracking credential
This template uses UpsGetTracking in: Seguimiento UPS. Create or pick the credential and assign it in those nodes.
- 4
Connect the SeurGetTracking credential
This template uses SeurGetTracking in: Seguimiento SEUR. Create or pick the credential and assign it in those nodes.
- 5
Connect the SendcloudGetTracking credential
This template uses SendcloudGetTracking in: Seguimiento Sendcloud. Create or pick the credential and assign it in those nodes.
- 6
Connect the ShippoGetTracking credential
This template uses ShippoGetTracking in: Seguimiento Shippo. Create or pick the credential and assign it in those nodes.
- 7
Connect the EasypostGetTracking credential
This template uses EasypostGetTracking in: Seguimiento EasyPost. Create or pick the credential and assign it in those nodes.
- 8
Connect the smtp credential
This template uses smtp in: Avisar al cliente, Avisar al equipo. Create or pick the credential and assign it in those nodes.
- 9
Copy the webhook URL (Recibir envío)
A new URL is generated on install. Paste it into the external system that must call this workflow.
- 10
Publish and test the form "Registrar envío"
Open it, publish it and submit a test entry to check the workflow starts.
- 11
Open the dashboard "Panel de logística"
Check that the test data shows up.
- 12
Connect carriers and email
Select the credentials of each “Seguimiento …” node, the mail account in Avisar al cliente and Avisar al equipo, and change the team email. Delete the carriers you do not use.
- 13
Register a shipment and test
Register a real shipment with the Registrar envío form, run Seguimiento automático de envíos by hand and check the status is updated. Then enable the schedule (every 3 hours).
- 14
Activate the workflow
Workflows are installed inactive. Once everything is set, activate it.
Related templates
Other templates that use similar nodes or integrations.
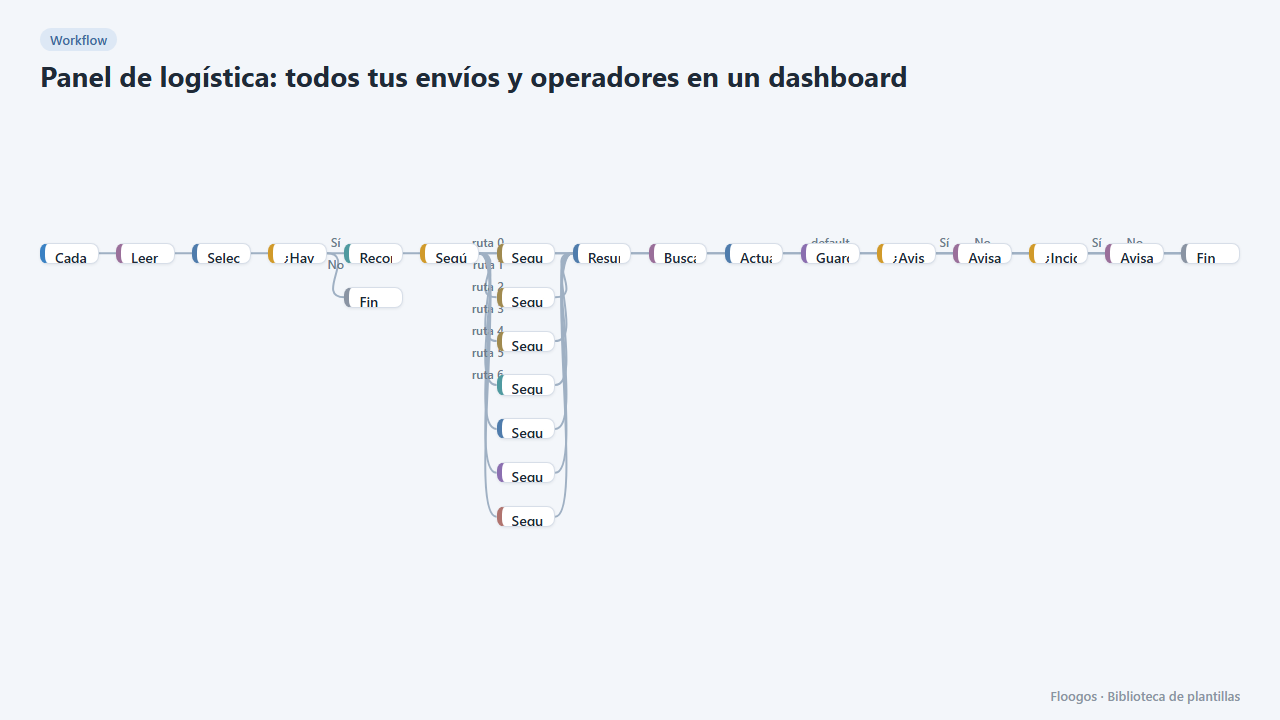
Logistics panel: all your shipments and carriers in one dashboard
Dashboard with KPIs, charts, filters and a side detail panel per shipment, fed by automatic tracking of DHL, FedEx, UPS, SEUR, Sendcloud, Shippo and EasyPost.
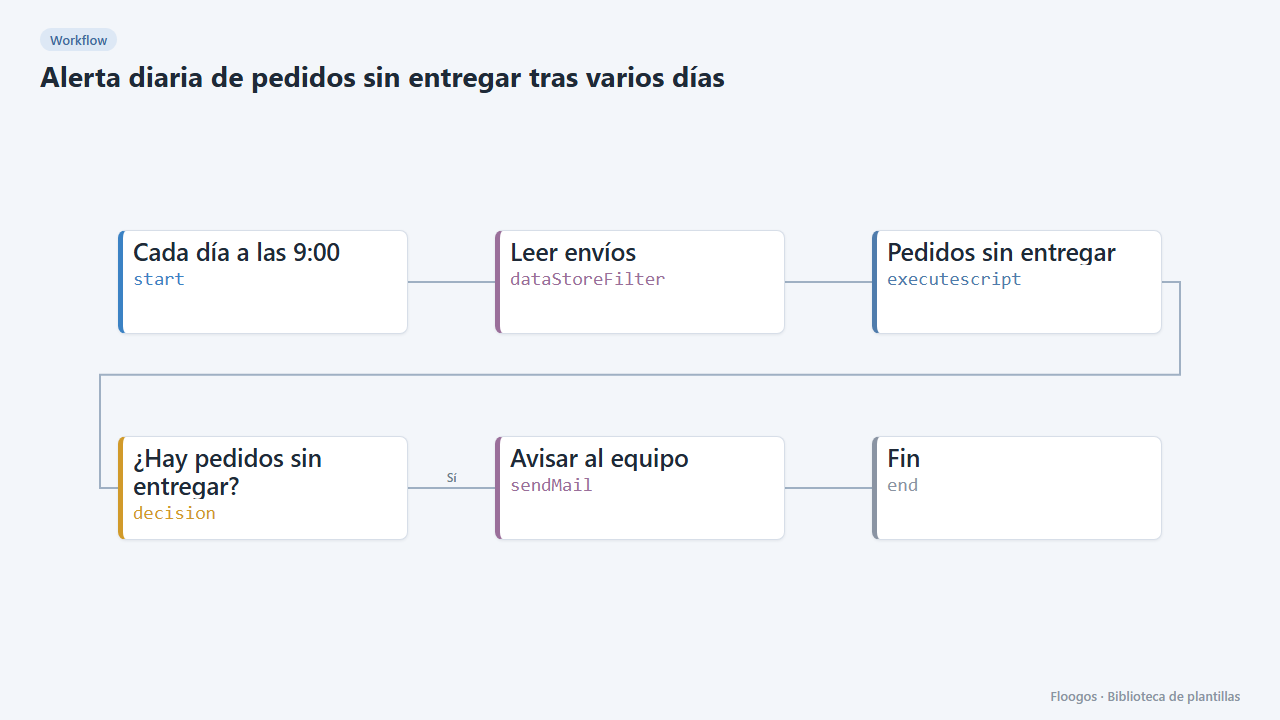
Daily alert for orders not delivered after several days
Every morning it checks the shipments Data Store and emails your team a table of orders still undelivered after more than 4 days.
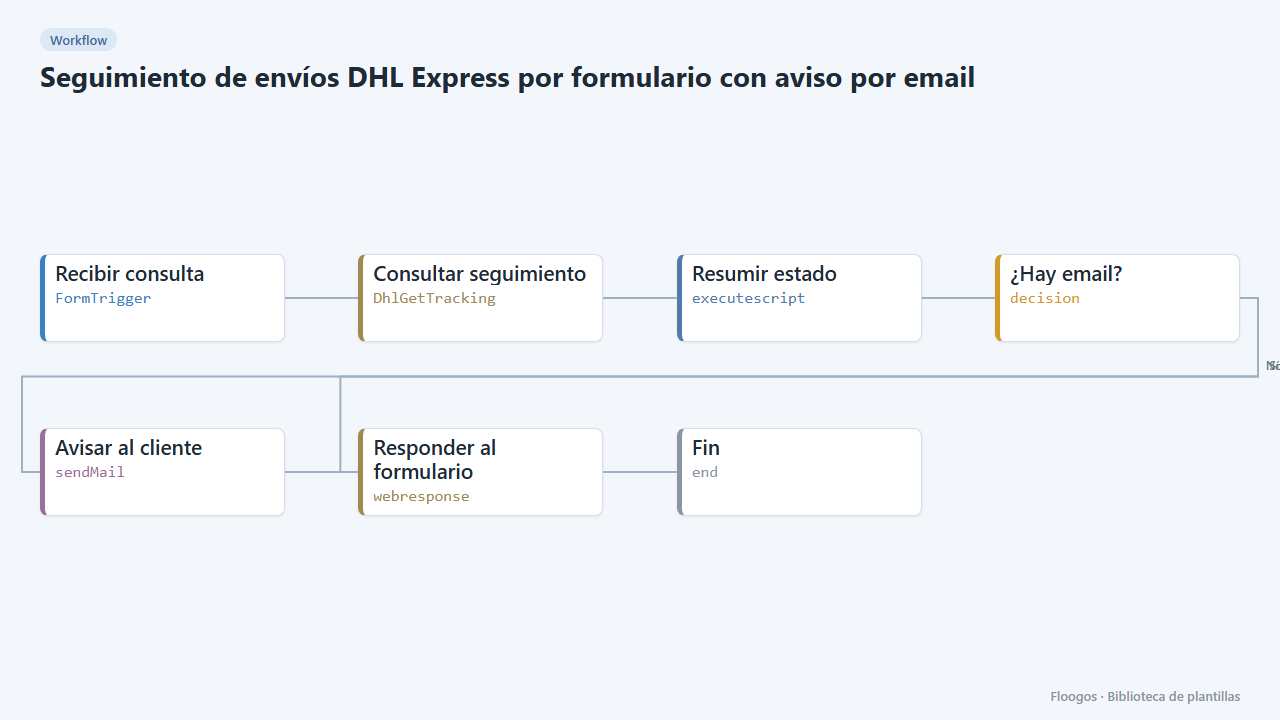
DHL Express shipment tracking form with email notice
A public form that checks the status of a DHL Express shipment and emails the customer the latest movement and the estimated date.
Try it in under 5 minutes
Create the template in your account, connect your credentials and activate it when you are ready.
Use this template