
PrestaShop orders to a Google Sheets spreadsheet
Every hour it appends your new PrestaShop orders to Google Sheets: date, reference, customer, amount, payment and status.
Everything is created inactive in a new folder of your account. Nothing runs until you activate it, and you can undo it for 24 hours.
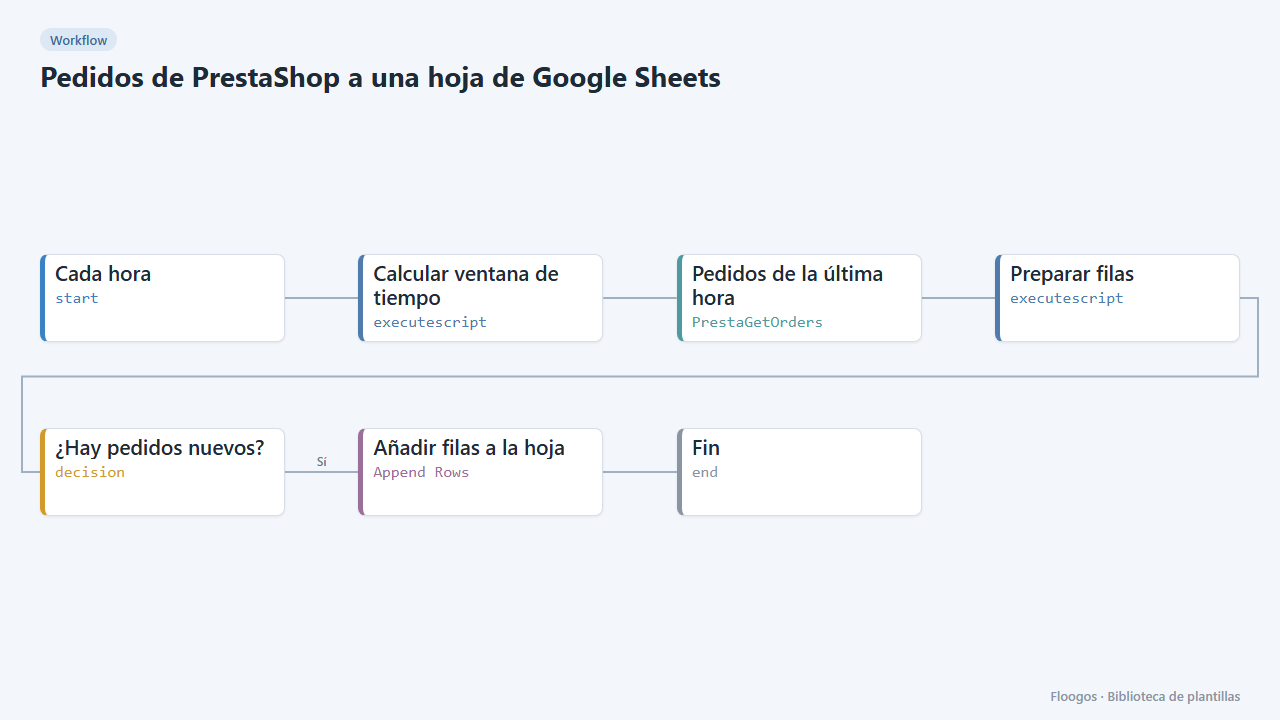
What it does
Keep a spreadsheet up to date with your orders, no copy and paste. Every hour the workflow queries the PrestaShop API, takes the orders created in the last hour and appends them as rows at the end of your sheet. Ideal for reports, reconciliations or sharing sales with people who have no back-office access.
What you need: the PrestaShop Webservice enabled with a key that can read orders, a Google account connected to Floogos and a spreadsheet with a tab called Pedidos.
How to use it: install the template, connect PrestaShop and Google, pick the spreadsheet and activate the workflow.
Note: the window matches the cron frequency; if the workflow is delayed or runs twice, an order may be duplicated or skipped.
How to set it up
- 1
Connect the prestashop credential
This template uses prestashop in: Pedidos de la última hora. Create or pick the credential and assign it in those nodes.
- 2
Connect the google credential
This template uses google in: Añadir filas a la hoja. Create or pick the credential and assign it in those nodes.
- 3
Connect PrestaShop
In the Pedidos de la última hora node connect the PrestaShop credential (store URL without
/apiand Webservice key). - 4
Connect Google and pick the sheet
In the Añadir filas a la hoja node connect Google and pick the spreadsheet. Create a tab called
Pedidosin it (or change the name in the range field). - 5
Test with a manual run
Set
minutosto a large value (for example1440) in the Calcular ventana de tiempo node, run once and check the rows. Then set it back to60. - 6
Activate the workflow
Workflows are installed inactive. Once everything is set, activate it.
Related templates
Other templates that use similar nodes or integrations.
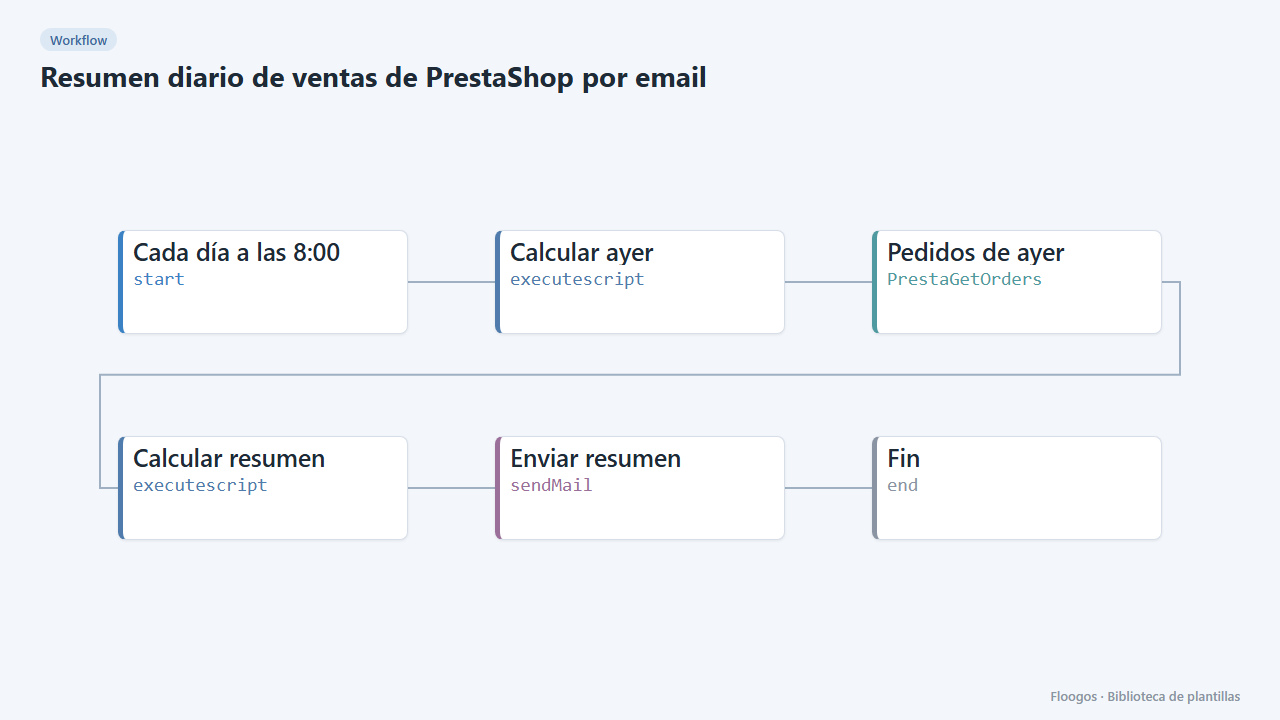
PrestaShop daily sales summary by email
Every morning it emails you yesterdays PrestaShop orders: order count, revenue, average ticket and breakdown by payment method.
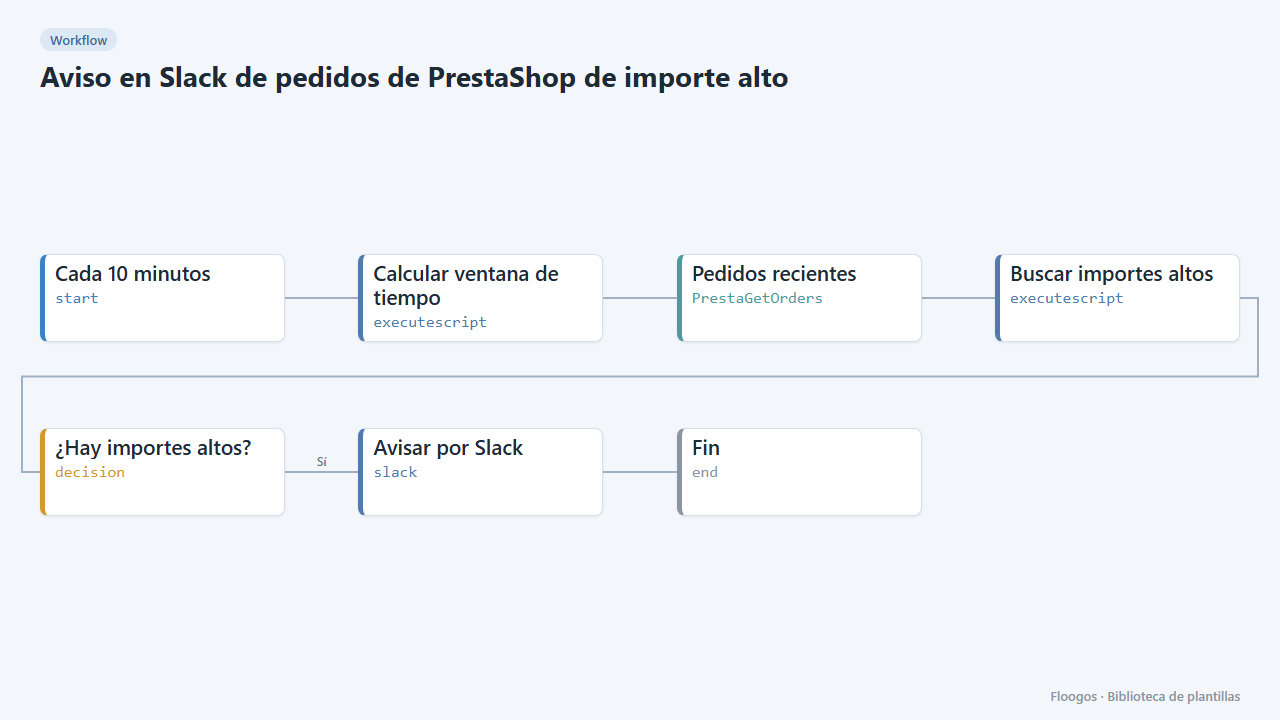
Slack alert for high-value PrestaShop orders
Every 10 minutes it looks for new PrestaShop orders above an amount and alerts on Slack for manual review.
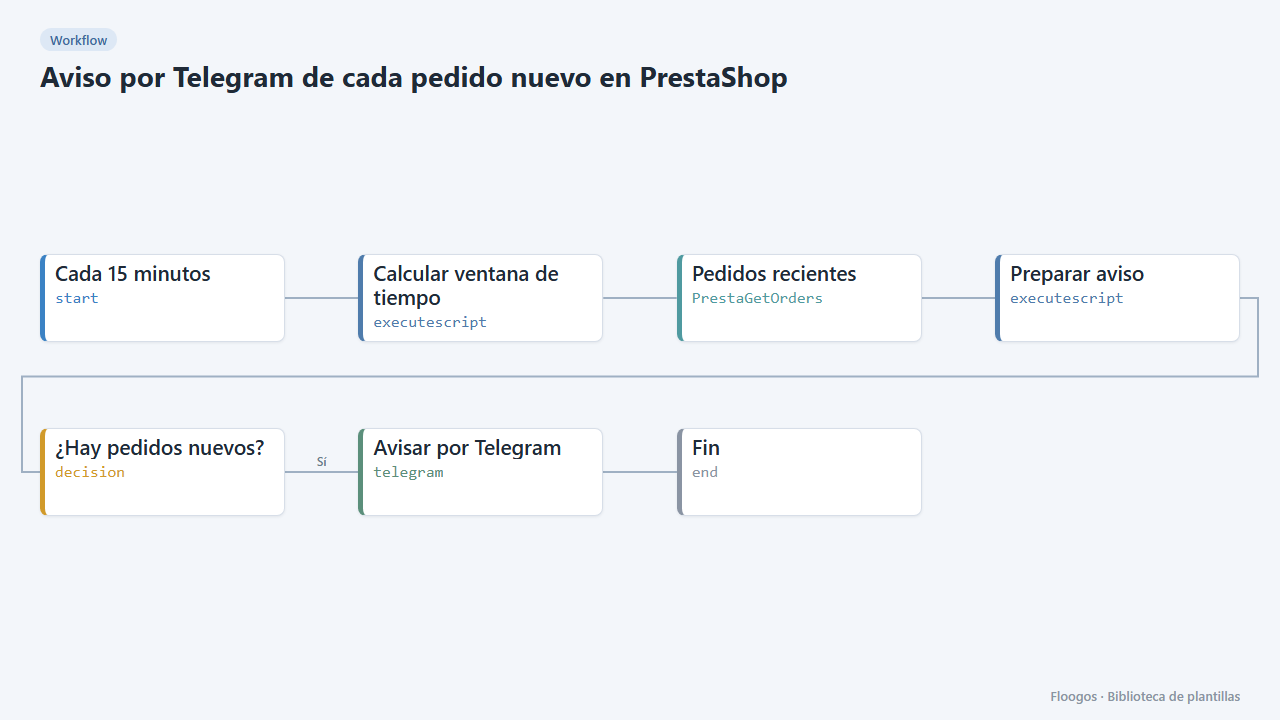
Telegram alert for every new PrestaShop order
Every 15 minutes it checks your PrestaShop store for new orders and sends them to Telegram with reference, amount and status.
Try it in under 5 minutes
Create the template in your account, connect your credentials and activate it when you are ready.
Use this template