
Write and publish blog posts on WordPress with AI
You give the topic and keywords, AI writes the article and leaves it in your WordPress as a draft or published.
Everything is created inactive in a new folder of your account. Nothing runs until you activate it, and you can undo it for 24 hours.
What it does
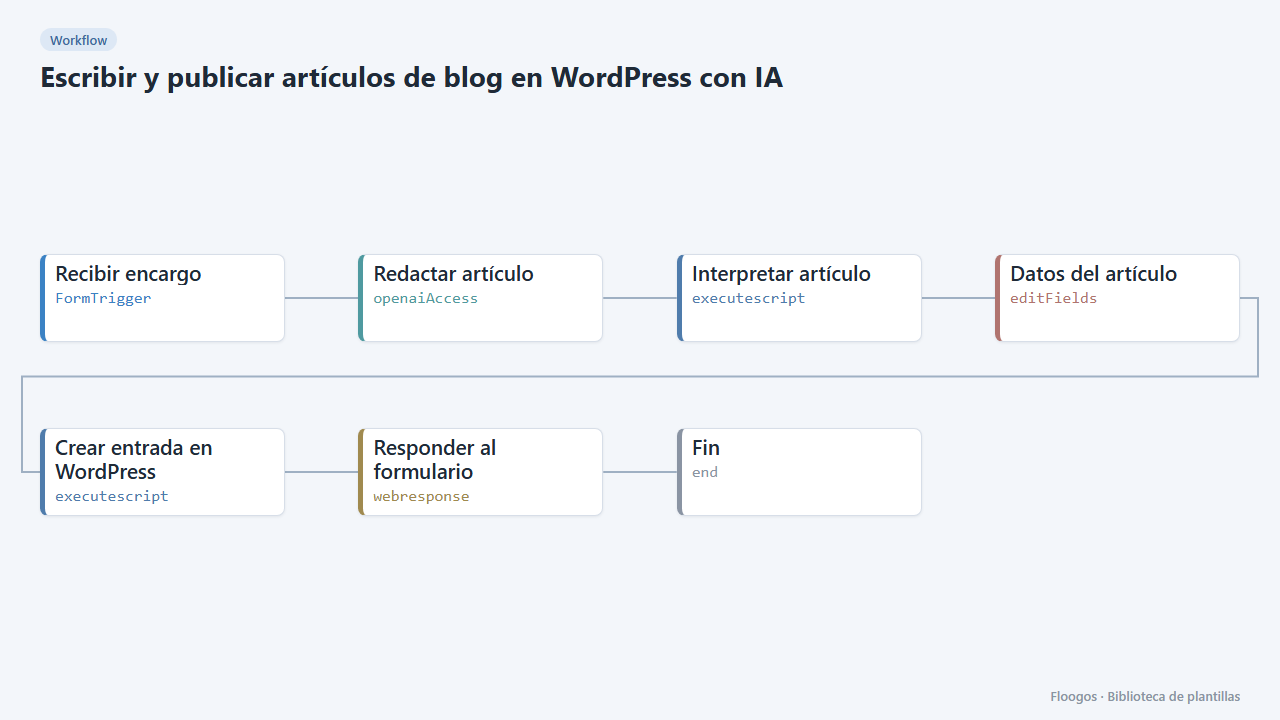
A writing assistant connected to your blog. You fill in a form with the topic, the keywords, the length and, optionally, the category and a featured image. OpenAI writes the article with title, excerpt and subheadings, and the flow creates it in WordPress through its REST API.
By default the article is saved as a draft so you can review it before publishing. The form response includes the link to the created post.
What you need: an OpenAI API key and a WordPress site with HTTPS and an application password (steps below). If you give a category that does not exist, the result warns you and the article is created without a category.
How to set it up
- 1
Connect the openai credential
This template uses openai in: Redactar artículo. Create or pick the credential and assign it in those nodes.
- 2
Copy the webhook URL (Recibir encargo)
A new URL is generated on install. Paste it into the external system that must call this workflow.
- 3
Publish and test the form "Nuevo artículo con IA"
Open it, publish it and submit a test entry to check the workflow starts.
- 4
Connect OpenAI
In the OpenAI node pick your credential with the API key. Always review the generated text before publishing it.
- 5
Connect WordPress
In WordPress go to Users > Profile > Application Passwords and create a new one. In Credentials create a Basic Auth one named
wordpress: username = your WordPress user, password = the generated application password. Your site must use HTTPS and have the REST API enabled (it is by default). - 6
Set your WordPress
In the Datos del artículo node change
wp_urlto your blog address (for examplehttps://myblog.com). - 7
Test with a draft
Open the form, leave Save as draft and submit a topic. Check in WordPress (Posts > Drafts) that the article was created and review the text before publishing it.
- 8
Activate the workflow
Workflows are installed inactive. Once everything is set, activate it.
Related templates
Other templates that use similar nodes or integrations.
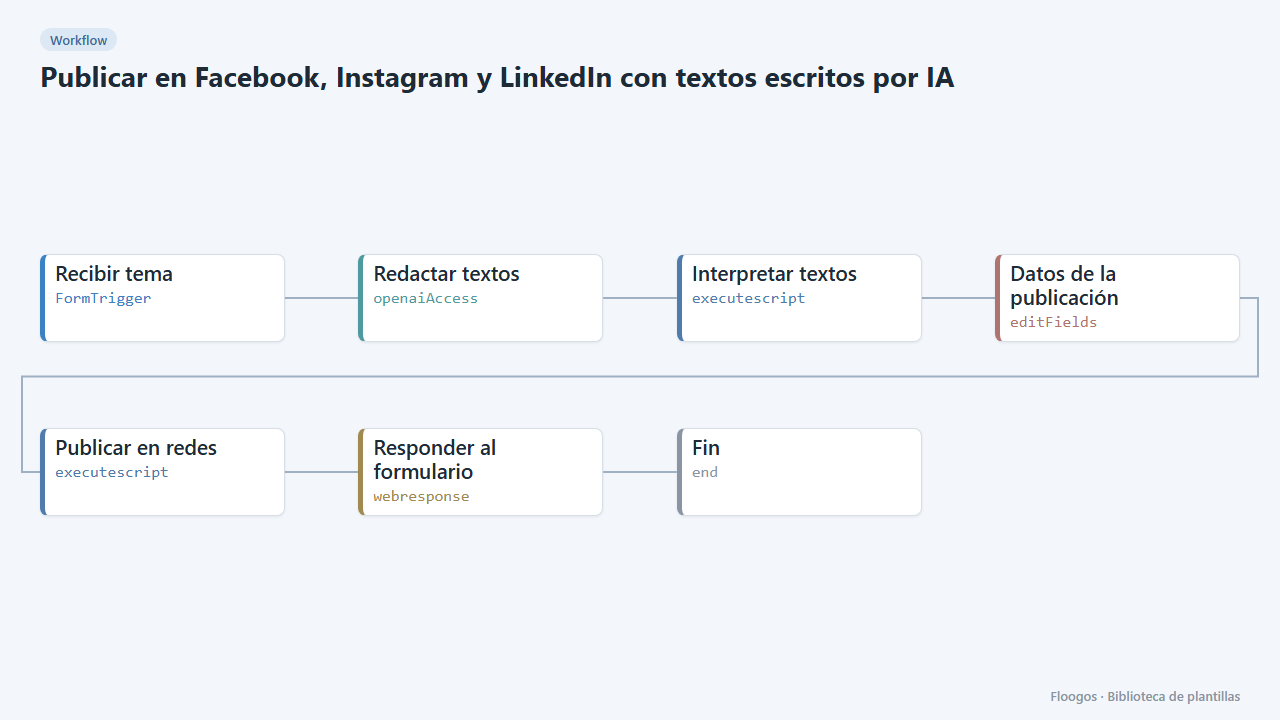
Post to Facebook, Instagram and LinkedIn with AI-written copy
Fill in a form with the topic, AI writes a text for each network and publishes it (or shows it as a draft).
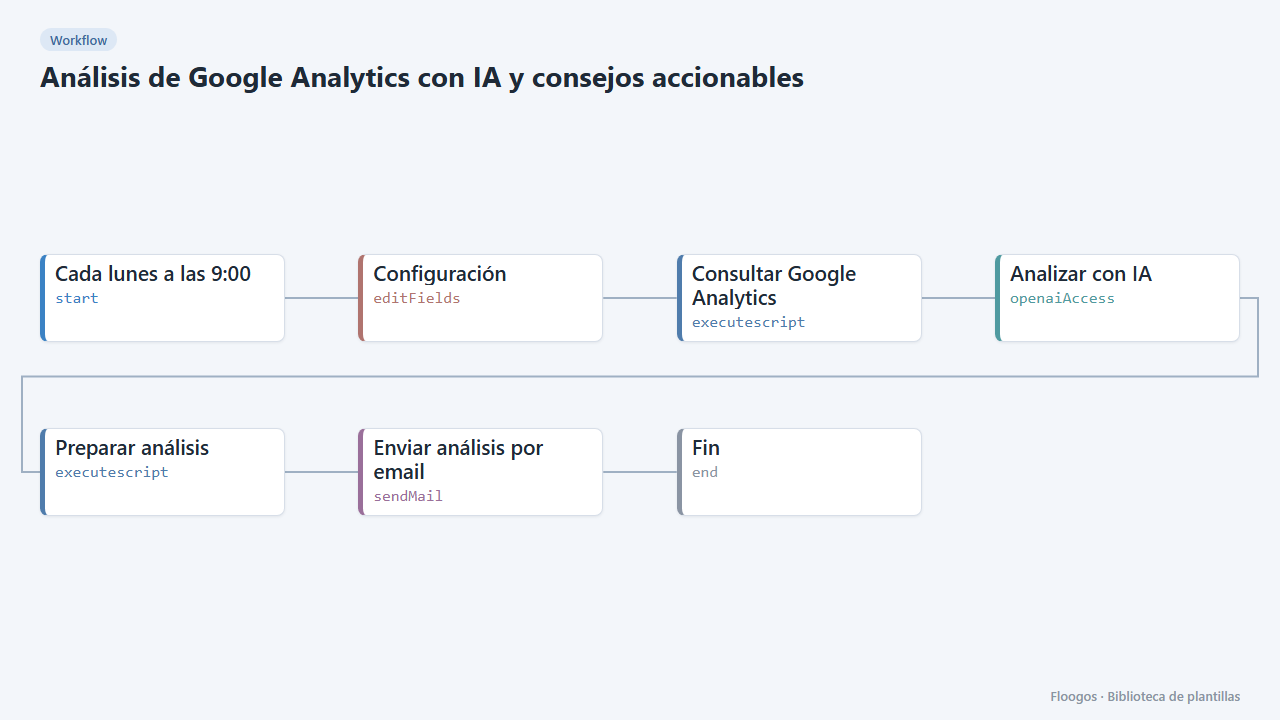
Google Analytics AI analysis with actionable advice
An AI reads your Google Analytics 4 data every week, explains what happened, spots anomalies and emails you a prioritized list of advice.
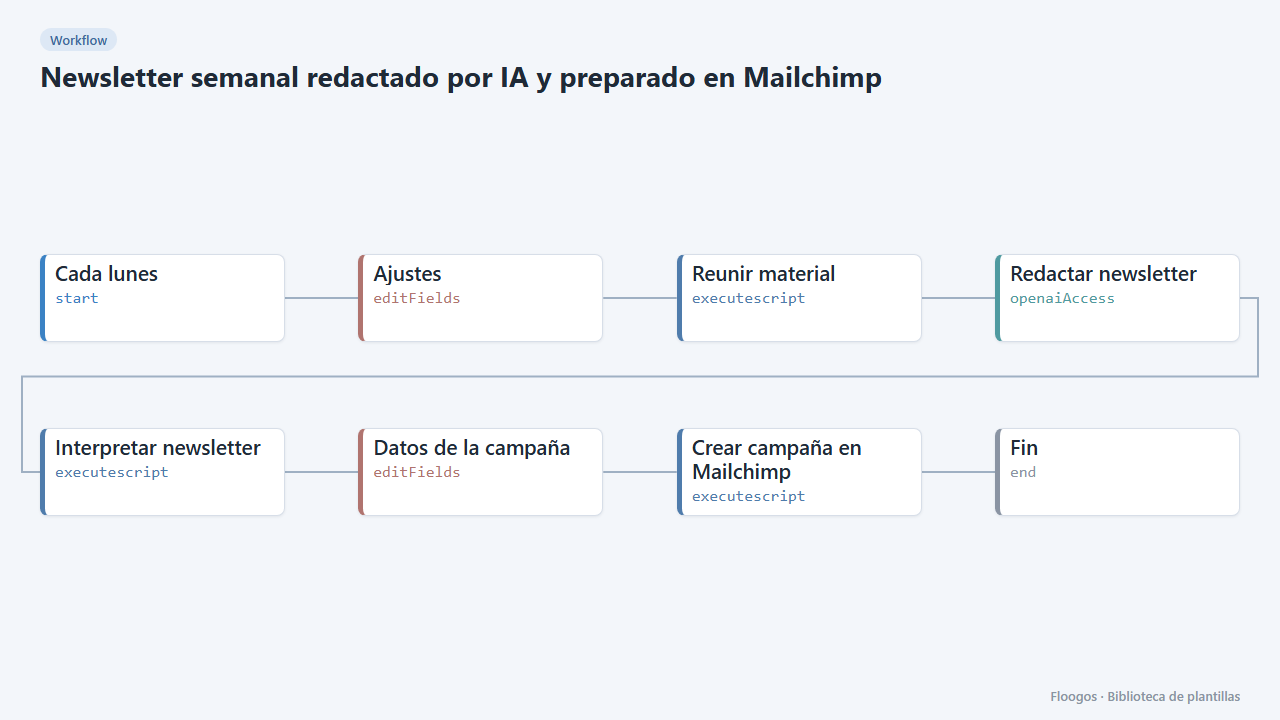
Weekly newsletter written by AI and prepared in Mailchimp
Every week it gathers your news and blog posts, AI writes the newsletter and leaves it ready as a Mailchimp campaign.
Try it in under 5 minutes
Create the template in your account, connect your credentials and activate it when you are ready.
Use this template