
Supplier onboarding with approval and tracking dashboard
A public form to onboard suppliers, an alert to the purchasing manager and a dashboard to approve or reject each request in one click.
Everything is created inactive in a new folder of your account. Nothing runs until you activate it, and you can undo it for 24 hours.
What it does
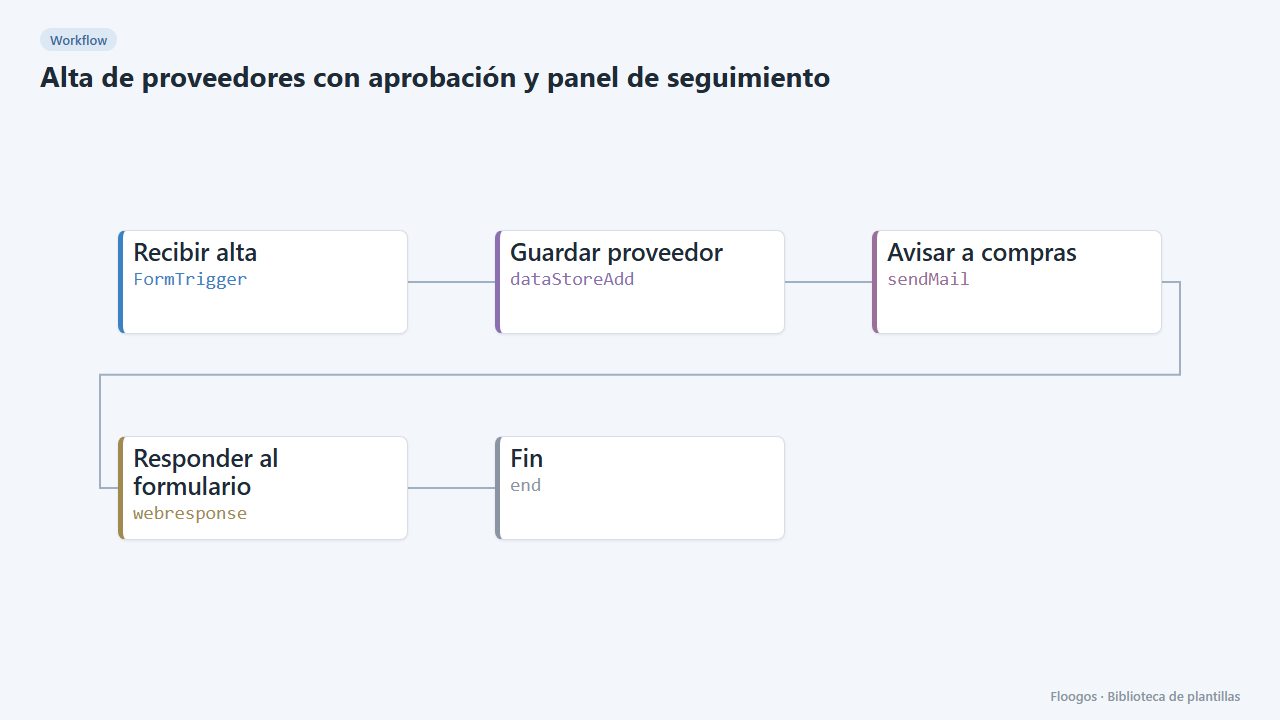
Keep supplier onboarding tidy without spreadsheets or email chains. The supplier (or your team) fills in the onboarding form with company name, tax ID, contact and category; the record is saved as pending and the purchasing manager gets an email. In the suppliers dashboard they see the full list with its status; clicking a row opens the decision form, where they approve or reject with a comment. The supplier receives an email with the outcome and the status is updated in the dashboard.
What is included: 2 forms, 2 workflows, 1 dashboard and the proveedores data group.
What you need: an SMTP account and the purchasing manager email.
How to use it: install the template, connect SMTP, set the manager email, share the onboarding form link and review requests from the dashboard.
How to set it up
- 1
Connect the smtp credential
This template uses smtp in: Avisar a compras, Avisar al proveedor. Create or pick the credential and assign it in those nodes.
- 2
Copy the webhook URL (Recibir alta)
A new URL is generated on install. Paste it into the external system that must call this workflow.
- 3
Copy the webhook URL (Recibir decisión)
A new URL is generated on install. Paste it into the external system that must call this workflow.
- 4
Publish and test the form "Alta de proveedor"
Open it, publish it and submit a test entry to check the workflow starts.
- 5
Publish and test the form "Decisión sobre proveedor"
Open it, publish it and submit a test entry to check the workflow starts.
- 6
Open the dashboard "Proveedores"
Check that the test data shows up.
- 7
Set who approves
In the Alta de proveedor workflow, Avisar a compras node, replace
compras@tuempresa.comwith the manager email. - 8
Test the full flow
Open the Alta de proveedor form and submit a test request. Go to the Proveedores dashboard, click the new row (status pendiente) and approve or reject: when you close the drawer the status changes by itself.
- 9
Activate the workflow
Workflows are installed inactive. Once everything is set, activate it.
Related templates
Other templates that use similar nodes or integrations.
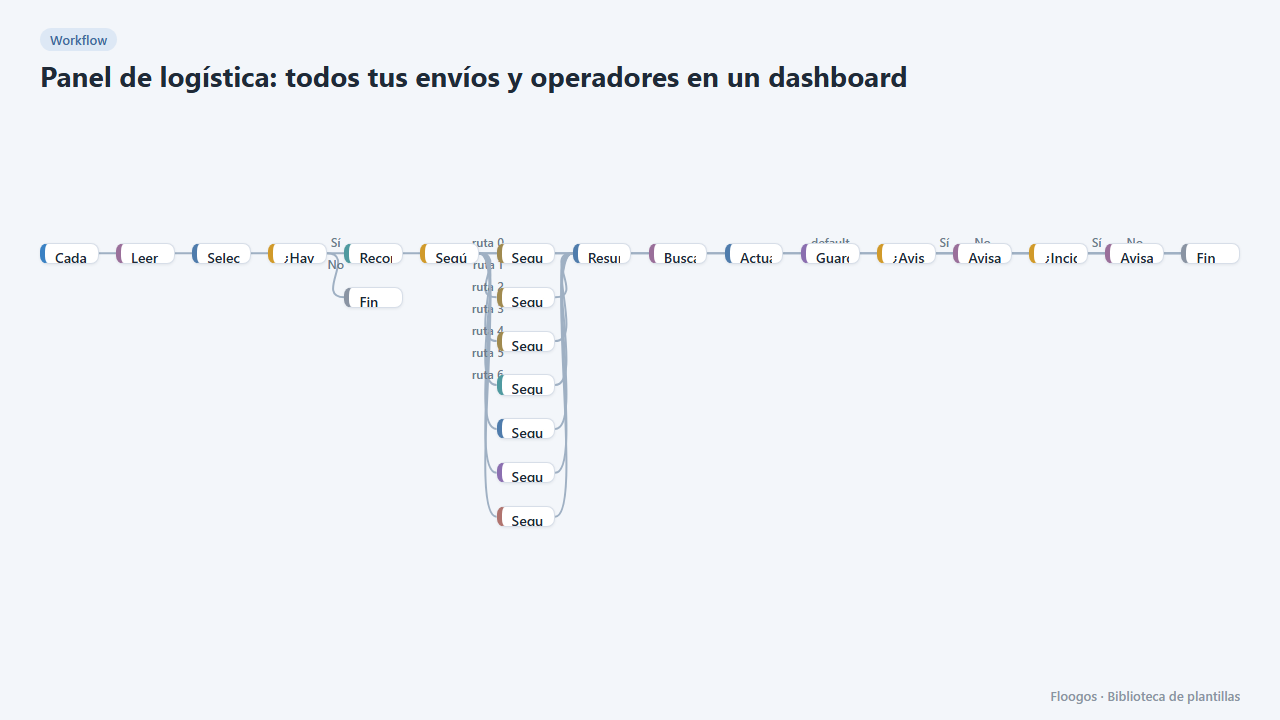
Logistics panel: all your shipments and carriers in one dashboard
Dashboard with KPIs, charts, filters and a side detail panel per shipment, fed by automatic tracking of DHL, FedEx, UPS, SEUR, Sendcloud, Shippo and EasyPost.
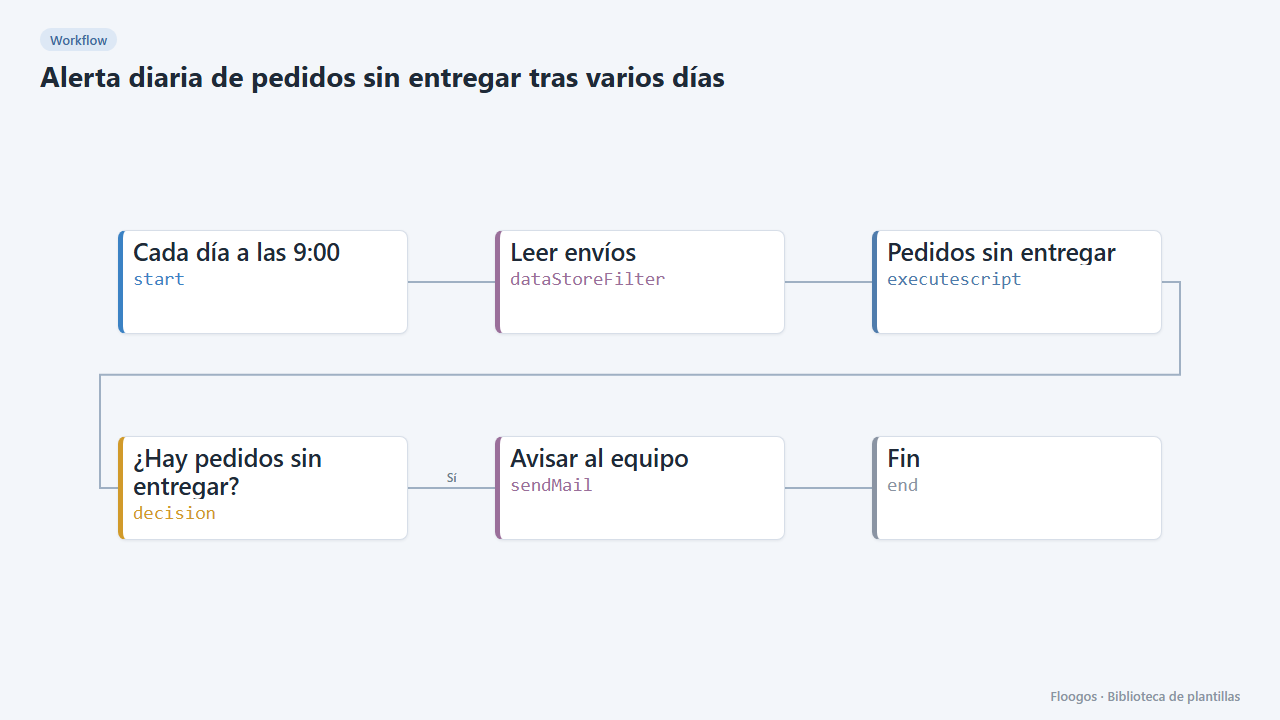
Daily alert for orders not delivered after several days
Every morning it checks the shipments Data Store and emails your team a table of orders still undelivered after more than 4 days.
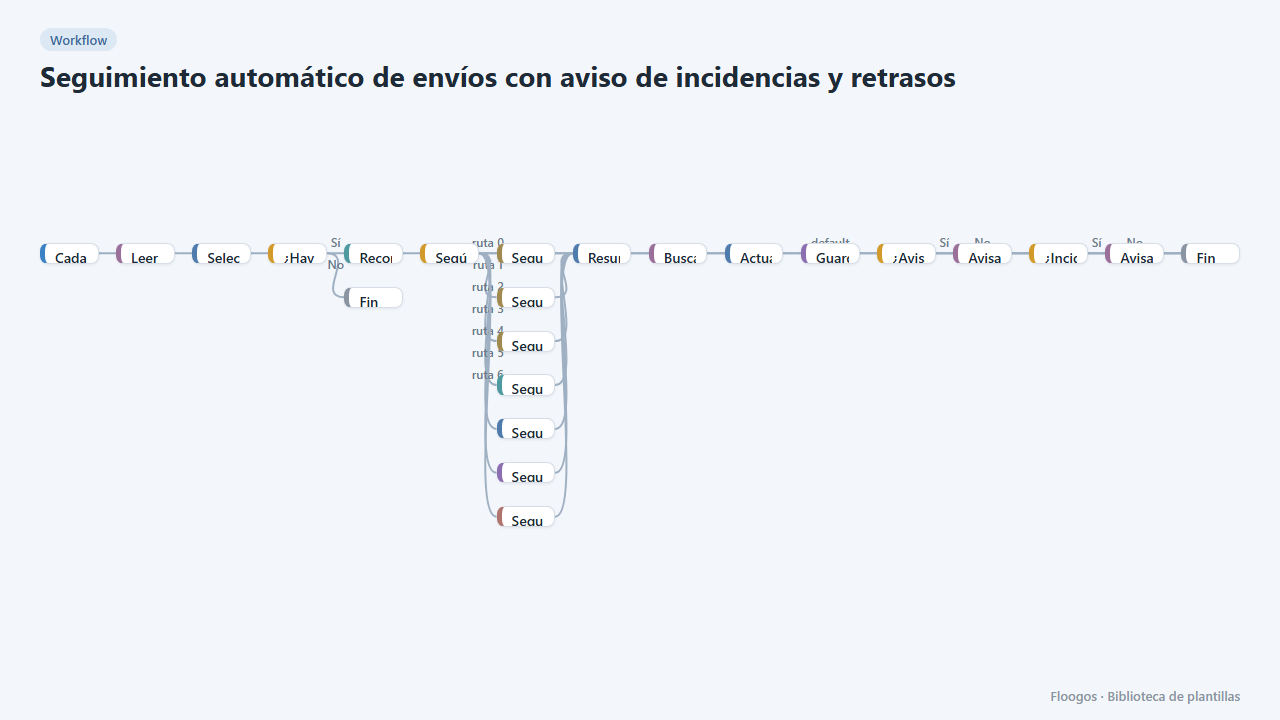
Automatic shipment tracking with incident and delay alerts
Every 3 hours it queries the status of in-flight shipments in DHL, FedEx, UPS, SEUR, Sendcloud, Shippo or EasyPost and notifies the customer and your team.
Try it in under 5 minutes
Create the template in your account, connect your credentials and activate it when you are ready.
Use this template