
Finnegans documents in Google Sheets
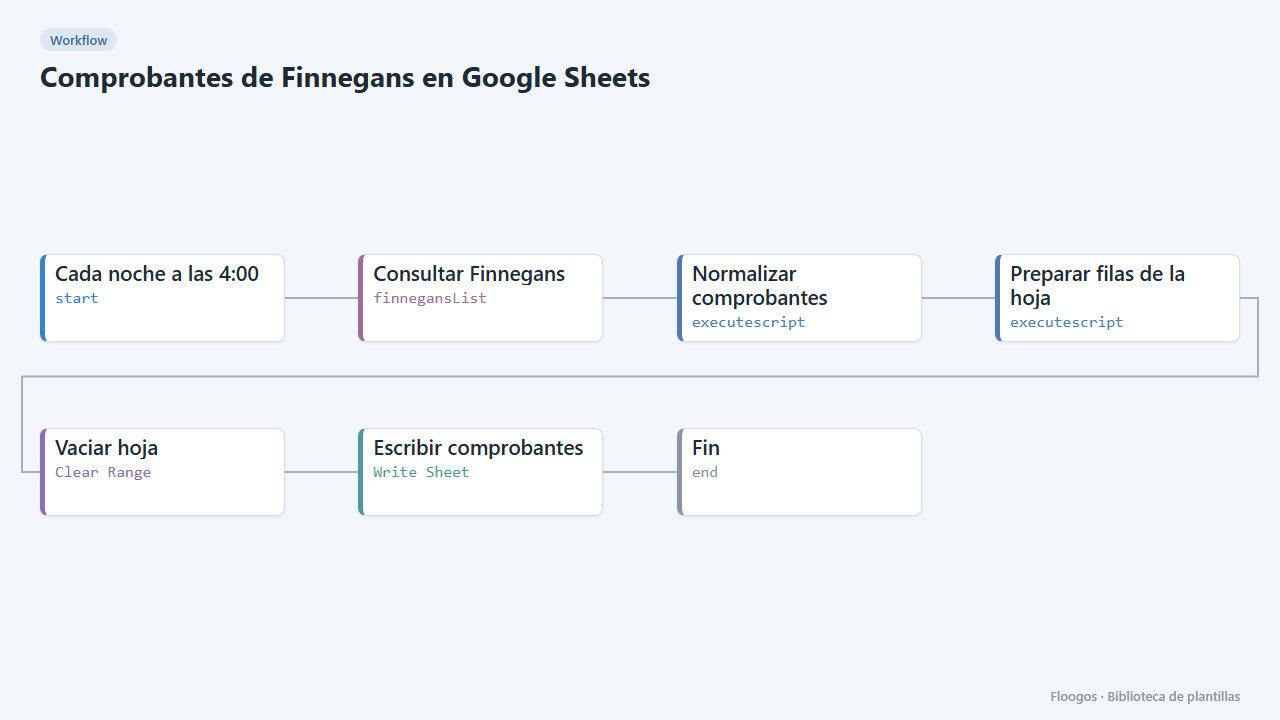
Every night it dumps Finnegans documents to a Google Sheet with clean columns (number, date, customer, seller, status, amount), ready for pivot tables.
Everything is created inactive in a new folder of your account. Nothing runs until you activate it, and you can undo it for 24 hours.
What it does
Queries a Finnegans entity (Comprobante by default), normalises the key fields and rewrites a Google Sheets tab with one row per document. The sheet is cleared and fully rewritten on every run, so it always mirrors what the ERP returns (no history is accumulated).
The quickest way for management, sales or an external advisor to work with filters and pivot tables without ERP access. If you prefer ready-made charts and filters, use the Finnegans sales dashboard template.
What you need: a Finnegans credential and a connected Google account.
Important: the Finnegans API is configurable per instance, so the entity name and fields are not confirmed. Run the “Consultar Finnegans” node first and adjust the “AJUSTA” block of the script if any value comes out empty. The list node does not paginate automatically.
How to set it up
- 1
Connect the finnegansList credential
This template uses finnegansList in: Consultar Finnegans. Create or pick the credential and assign it in those nodes.
- 2
Connect the Clear Range credential
This template uses Clear Range in: Vaciar hoja. Create or pick the credential and assign it in those nodes.
- 3
Connect the Write Sheet credential
This template uses Write Sheet in: Escribir comprobantes. Create or pick the credential and assign it in those nodes.
- 4
Connect Finnegans
Pick your credential in Consultar Finnegans and run just that node to see the response; change the entity if it is not
Comprobante. - 5
Map the fields
In Normalizar comprobantes add your instance's real field names to
ALIAS. - 6
Connect the sheet
Create a spreadsheet with a tab named
Comprobantes, copy its ID into Vaciar hoja and Escribir comprobantes and pick your Google account in both. - 7
Activate the workflow
Workflows are installed inactive. Once everything is set, activate it.
Related templates
Other templates that use similar nodes or integrations.
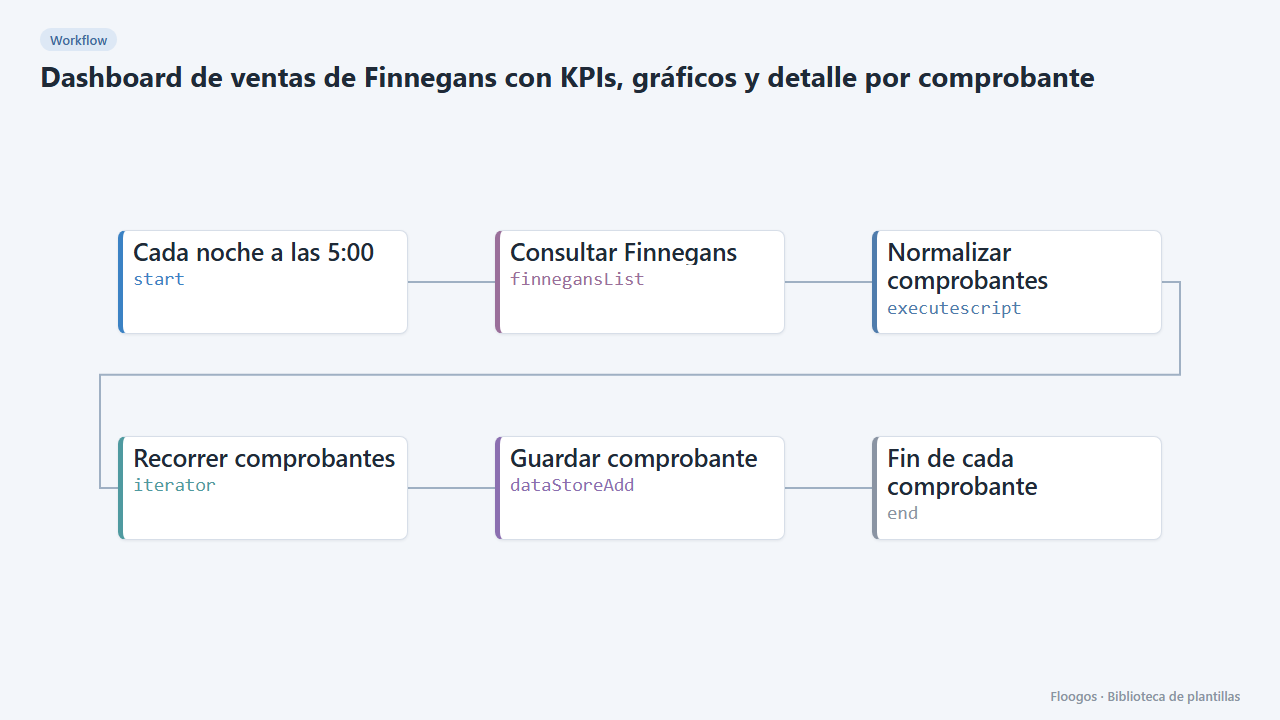
Finnegans sales dashboard with KPIs, charts and per-document detail
Copies Finnegans documents to an interactive dashboard every night: revenue, average ticket, monthly trend, top customers and sellers, with search, a status filter and a side panel with each document's detail.
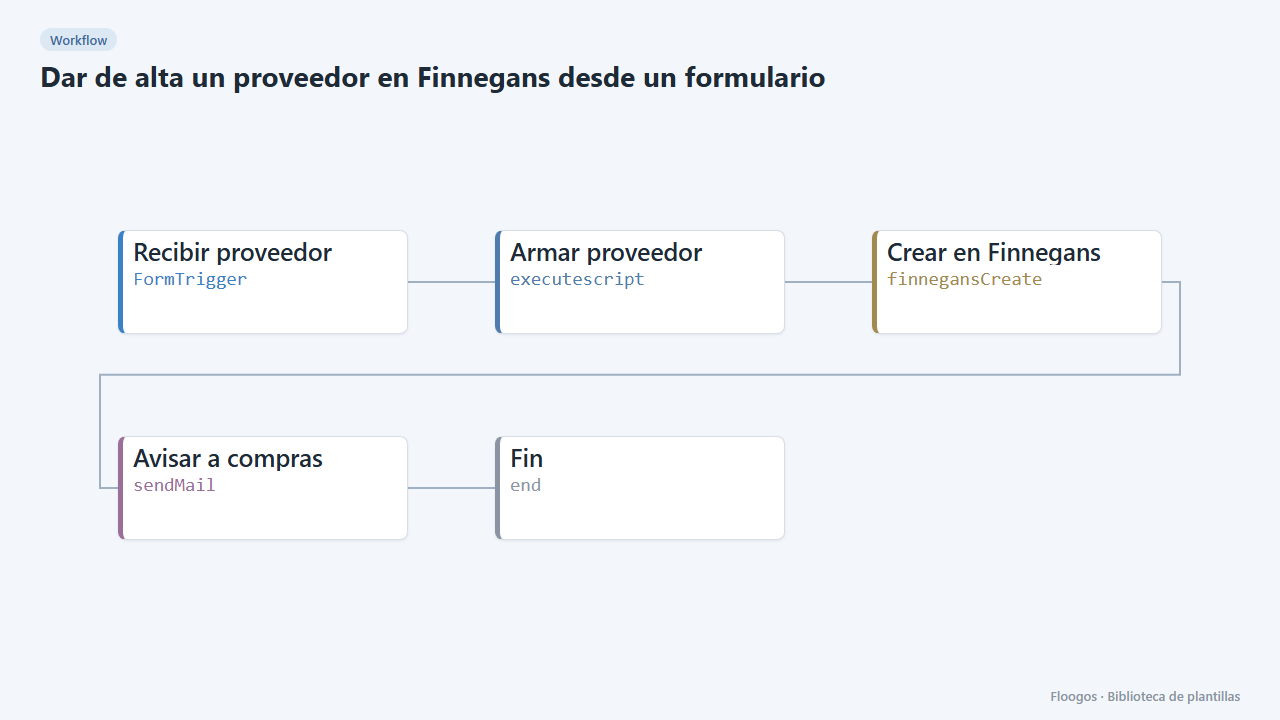
Create a supplier in Finnegans from a form
An internal form to register new suppliers in Finnegans without retyping data, with an email notice when one is created.
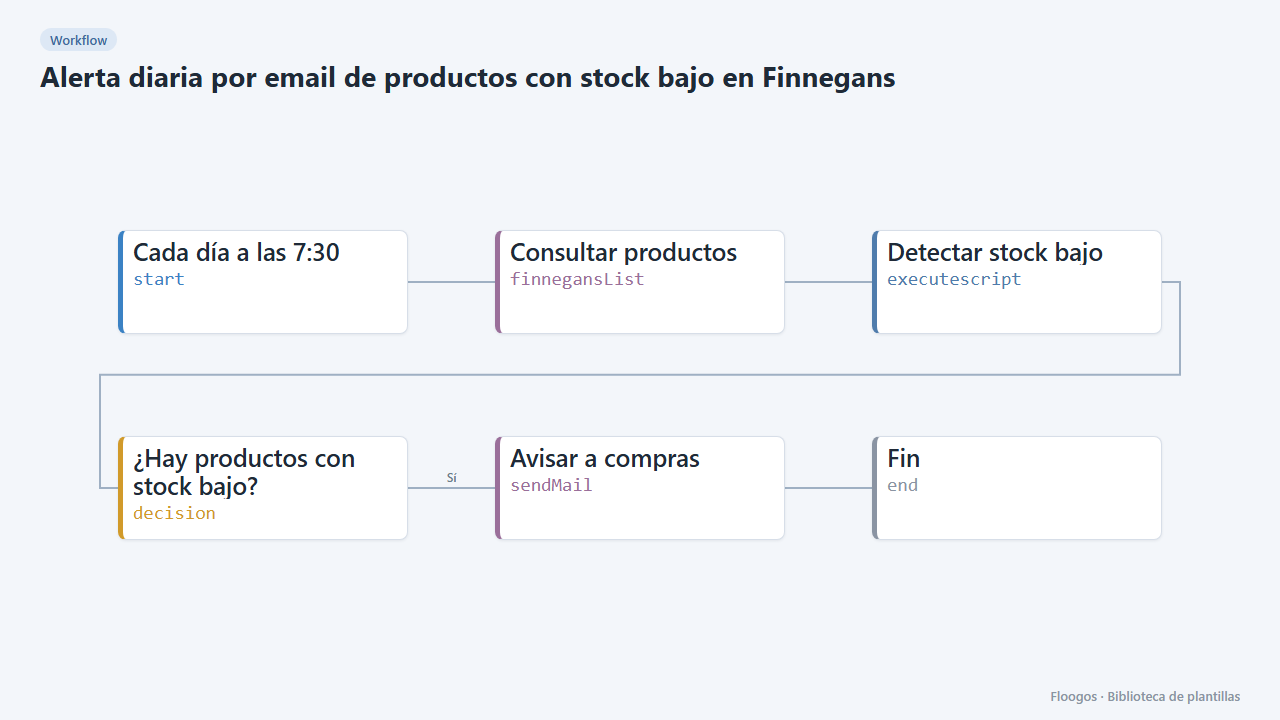
Daily email alert for low-stock products in Finnegans
Every morning it checks Finnegans products and emails purchasing the ones at or below their minimum stock, most urgent first.
Try it in under 5 minutes
Create the template in your account, connect your credentials and activate it when you are ready.
Use this template