
Create a supplier in Finnegans from a form
An internal form to register new suppliers in Finnegans without retyping data, with an email notice when one is created.
Everything is created inactive in a new folder of your account. Nothing runs until you activate it, and you can undo it for 24 hours.
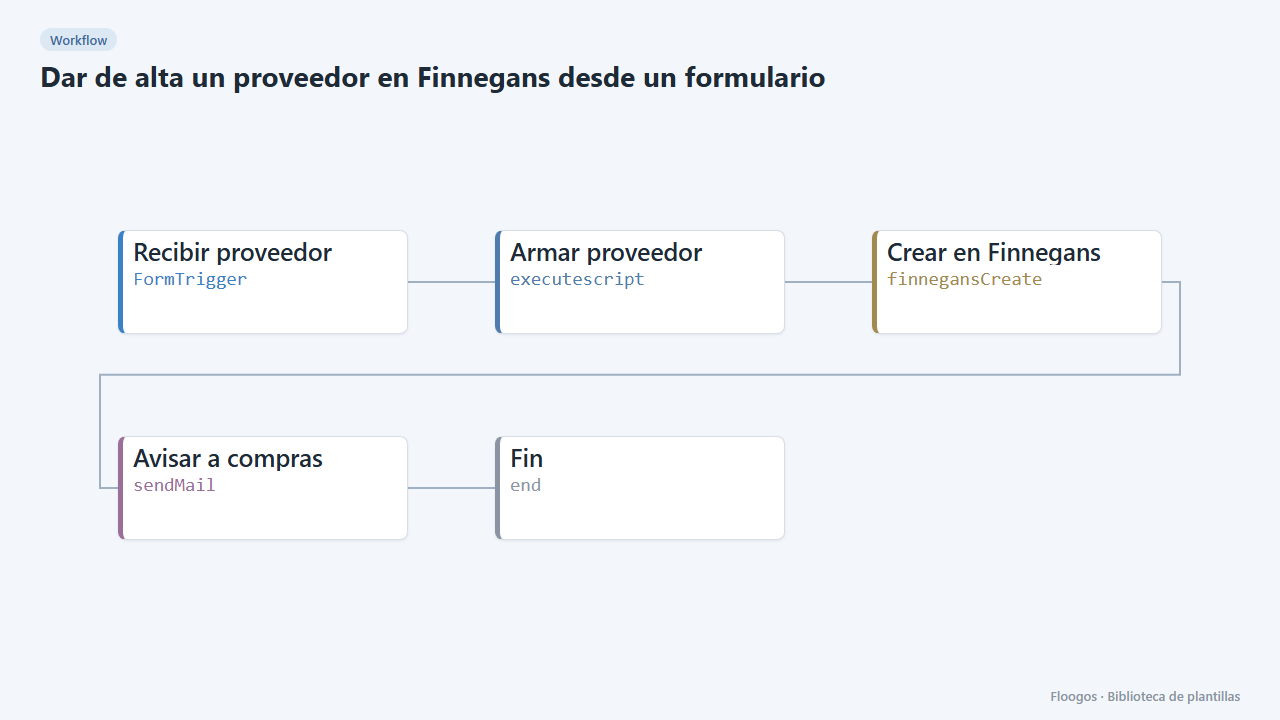
What it does
Includes a form (signed-in users only) with company name, tax ID, email, phone and address. On submit, the workflow validates the data, builds the record and creates the supplier in Finnegans with the generic “Crear en Finnegans” node (Proveedor entity). It then emails the purchasing team.
To avoid duplicates, check in Finnegans first whether the supplier already exists (you can do it with the “Finnegans: Obtener proveedor” node); this template does not do it on its own.
What you need: a Finnegans credential with write permissions and a mail account (SMTP).
Important: a supplier's structure depends on your instance. The “Armar proveedor” script generates a sample body (Codigo, RazonSocial, Cuit…) that is not confirmed: compare it with a real supplier from your instance and test in a test environment. This template creates real records in your ERP.
How to set it up
- 1
Connect the finnegansCreate credential
This template uses finnegansCreate in: Crear en Finnegans. Create or pick the credential and assign it in those nodes.
- 2
Connect the smtp credential
This template uses smtp in: Avisar a compras. Create or pick the credential and assign it in those nodes.
- 3
Copy the webhook URL (Recibir proveedor)
A new URL is generated on install. Paste it into the external system that must call this workflow.
- 4
Publish and test the form "Alta de proveedor en Finnegans"
Open it, publish it and submit a test entry to check the workflow starts.
- 5
Confirm the supplier structure
Read an existing supplier with Finnegans: Obtener proveedor and adapt the object returned by Armar proveedor.
- 6
Connect Finnegans and email
Pick your credential in Crear en Finnegans and your mail account in Avisar a compras; change the recipient
compras@tuempresa.com. - 7
Test
Open the Alta de proveedor en Finnegans form, submit a test supplier and verify it in the ERP before sharing the form.
- 8
Activate the workflow
Workflows are installed inactive. Once everything is set, activate it.
Related templates
Other templates that use similar nodes or integrations.
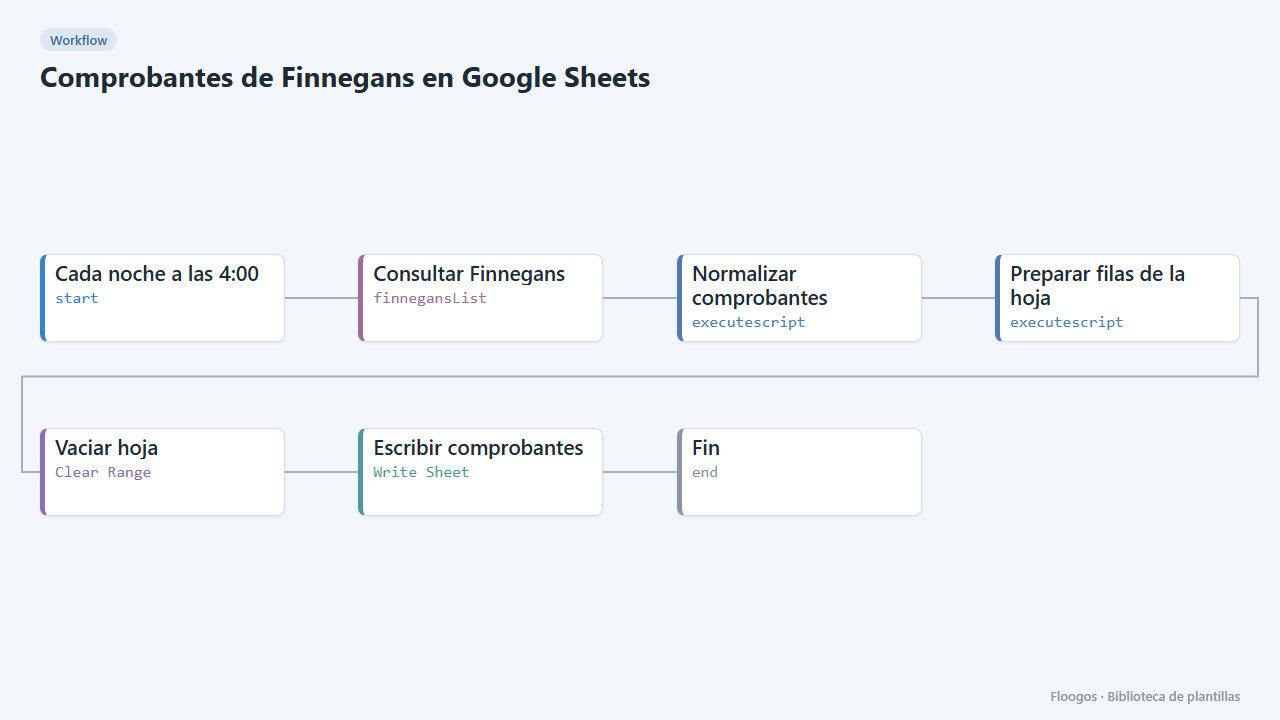
Finnegans documents in Google Sheets
Every night it dumps Finnegans documents to a Google Sheet with clean columns (number, date, customer, seller, status, amount), ready for pivot tables.
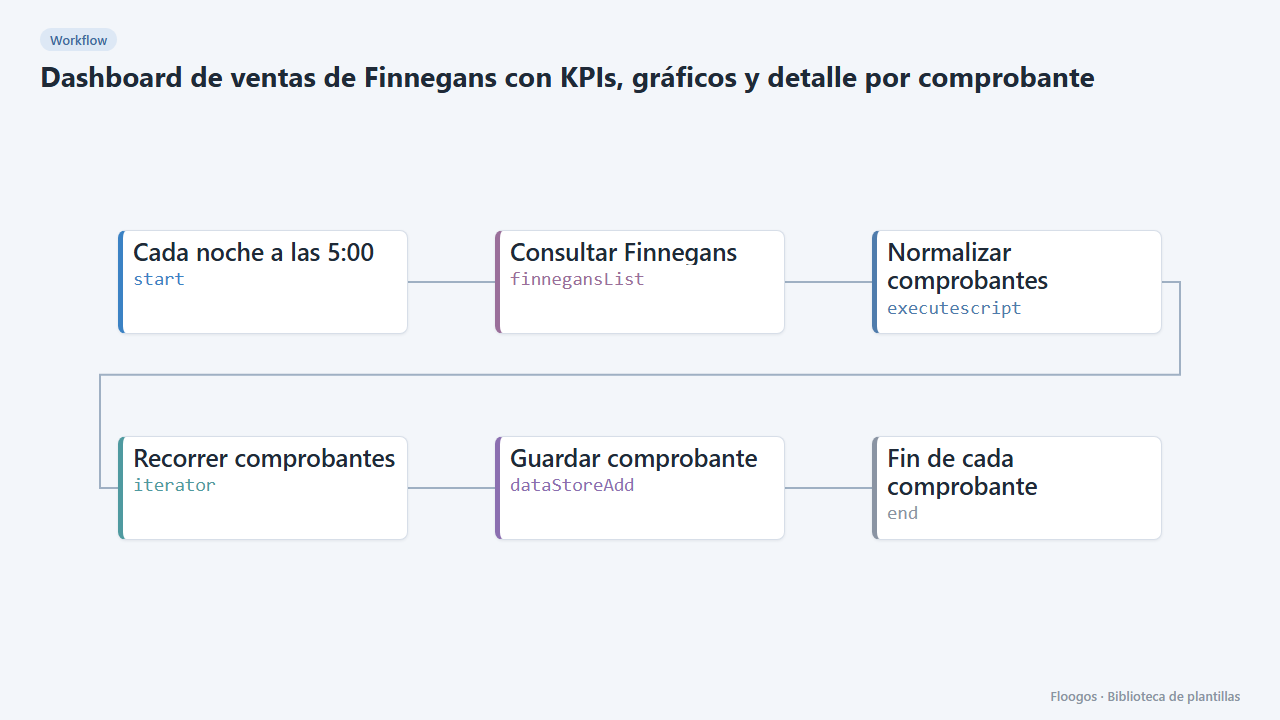
Finnegans sales dashboard with KPIs, charts and per-document detail
Copies Finnegans documents to an interactive dashboard every night: revenue, average ticket, monthly trend, top customers and sellers, with search, a status filter and a side panel with each document's detail.
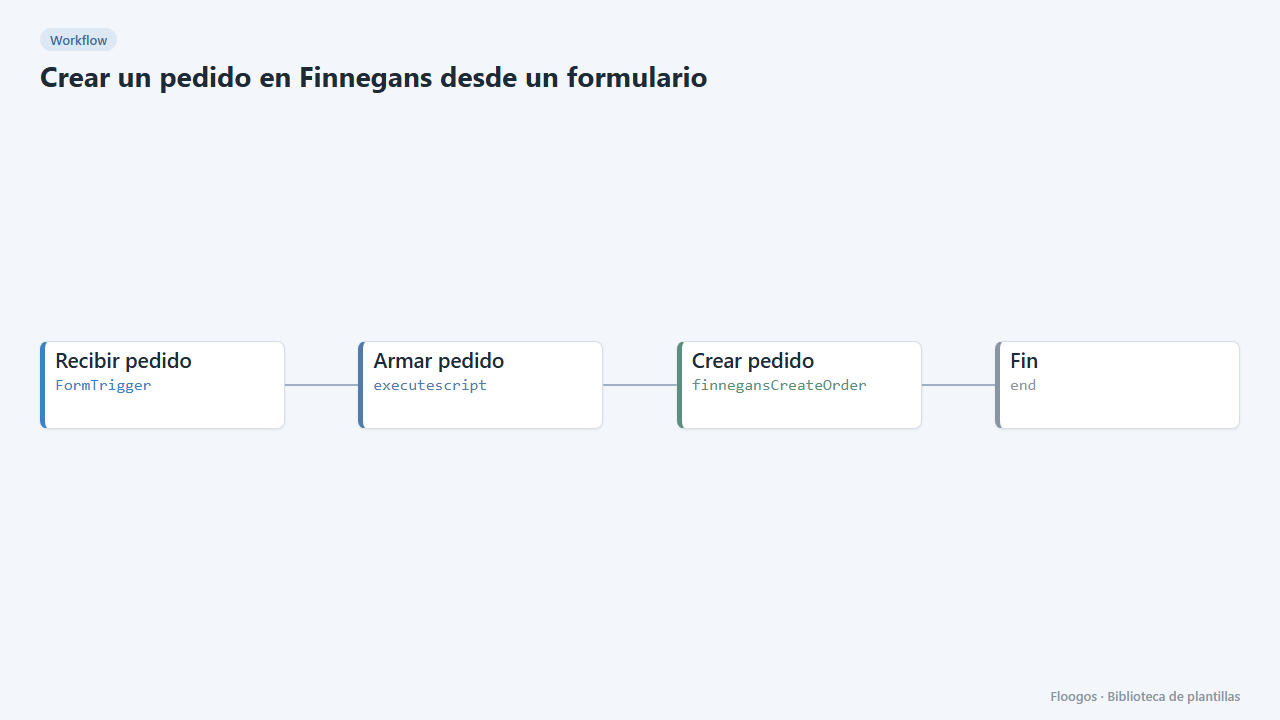
Create a Finnegans order from a form
An internal form so sales or customer service can enter an order into Finnegans without opening the ERP.
Try it in under 5 minutes
Create the template in your account, connect your credentials and activate it when you are ready.
Use this template