
Web form to an Excel sheet in OneDrive (Microsoft 365)
Every form submission is added as a new row in an Excel workbook in your OneDrive, with the header row created automatically.
Everything is created inactive in a new folder of your account. Nothing runs until you activate it, and you can undo it for 24 hours.
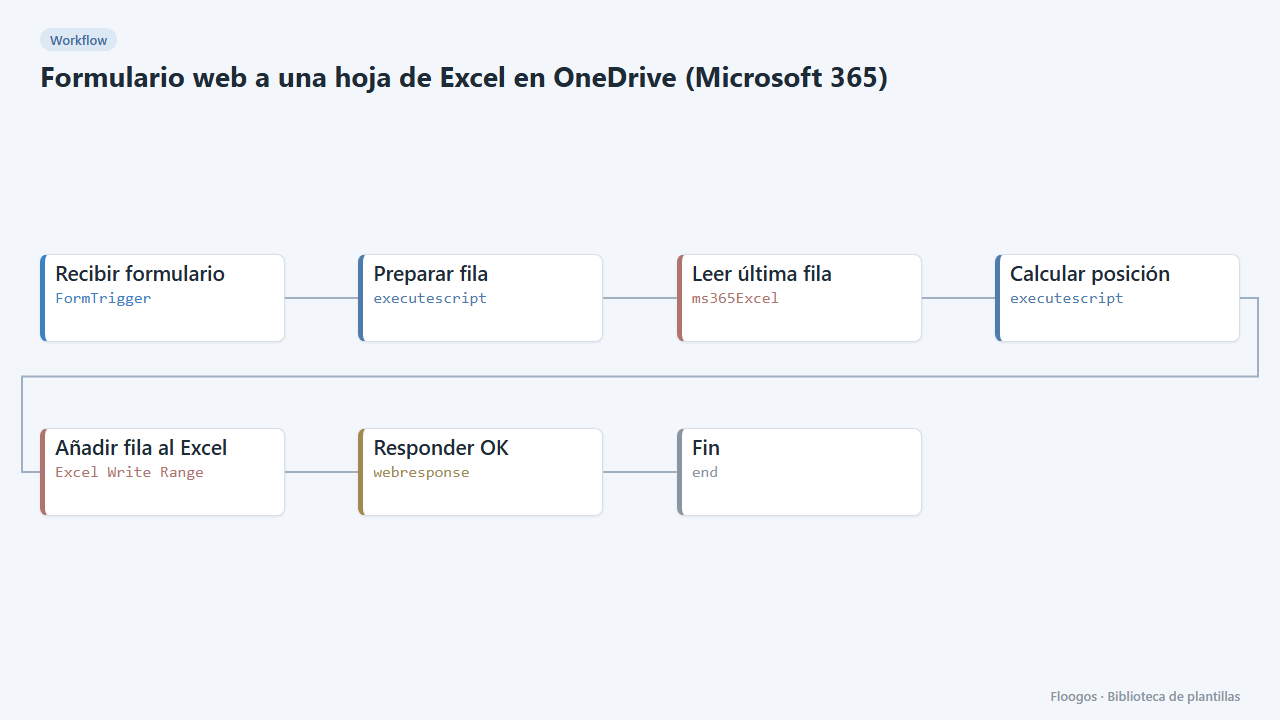
What it does
Collect contacts, requests or sign-ups with a public form and store them in a Microsoft 365 Excel workbook your team already uses. Each submission is written to the first free row of the sheet (date, name, email, phone and message); if the sheet is empty, the workflow creates the header row first.
What is included: 1 form and 1 workflow.
What you need: a connected Microsoft 365 account (OAuth) and an .xlsx workbook in your OneDrive.
Limitations: the workbook must live in your personal or business OneDrive (not in a SharePoint site). Up to 26 columns (A–Z) are written. If two people submit the form at the same instant they could write to the same row: for high volumes use a Data Store and dump it to Excel periodically. It has not been tested against real Microsoft accounts.
How to set it up
- 1
Connect the microsoft credential
This template uses microsoft in: Leer última fila, Añadir fila al Excel. Create or pick the credential and assign it in those nodes.
- 2
Copy the webhook URL (Recibir formulario)
A new URL is generated on install. Paste it into the external system that must call this workflow.
- 3
Publish and test the form "Contacto"
Open it, publish it and submit a test entry to check the workflow starts.
- 4
Prepare the Excel workbook
Create (or pick) an
.xlsxworkbook in your OneDrive. Copy its identifier: you can get it with a Microsoft Excel node using thelistExcelFilesoperation, which returns each file'sid. - 5
Connect Microsoft 365 and fill in the nodes
In the Leer última fila and Añadir fila al Excel nodes connect your Microsoft account, paste the workbook
fileIdand check the sheet name (sheetName):Hoja1in Spanish Excel,Sheet1in English. - 6
Test the form
Open the Contacto form, submit an answer and check that the header and the row appear in Excel. Submit another one: it should be added below.
- 7
Activate the workflow
Workflows are installed inactive. Once everything is set, activate it.
Related templates
Other templates that use similar nodes or integrations.
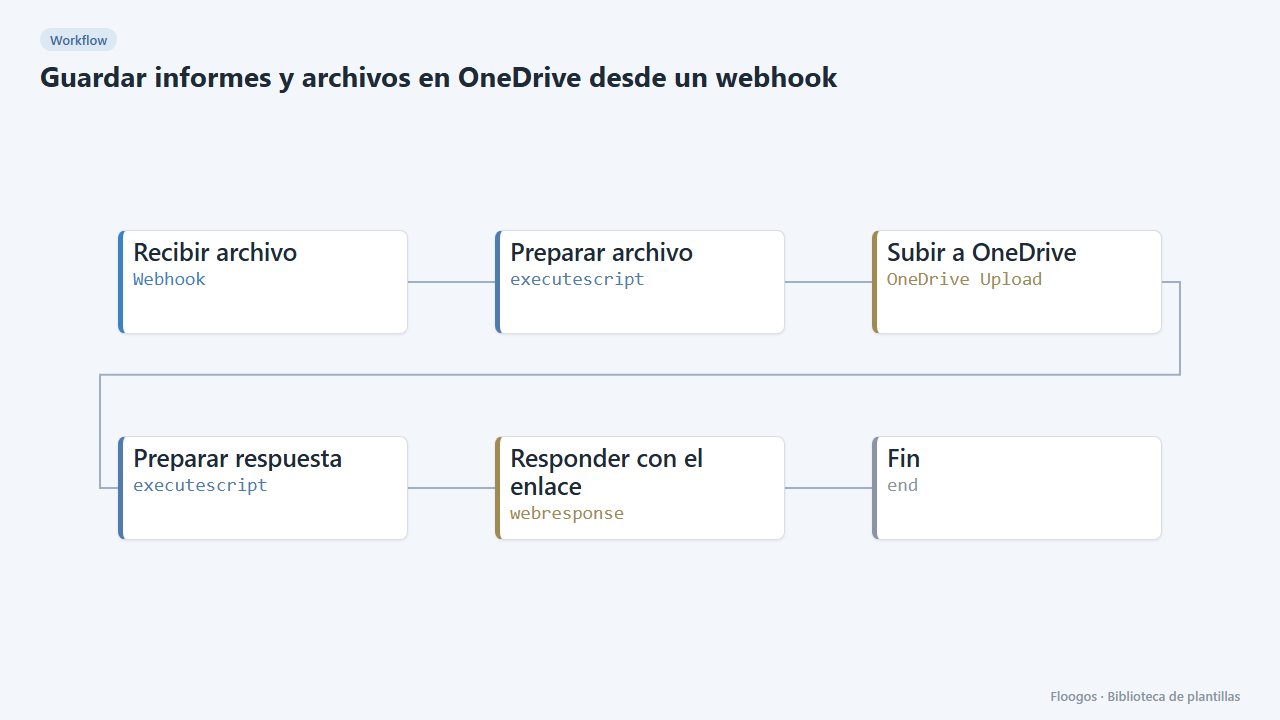
Save reports and files to OneDrive from a webhook
A URL you send a file name and its content (text or Base64) to, which saves it in your OneDrive and returns the link.
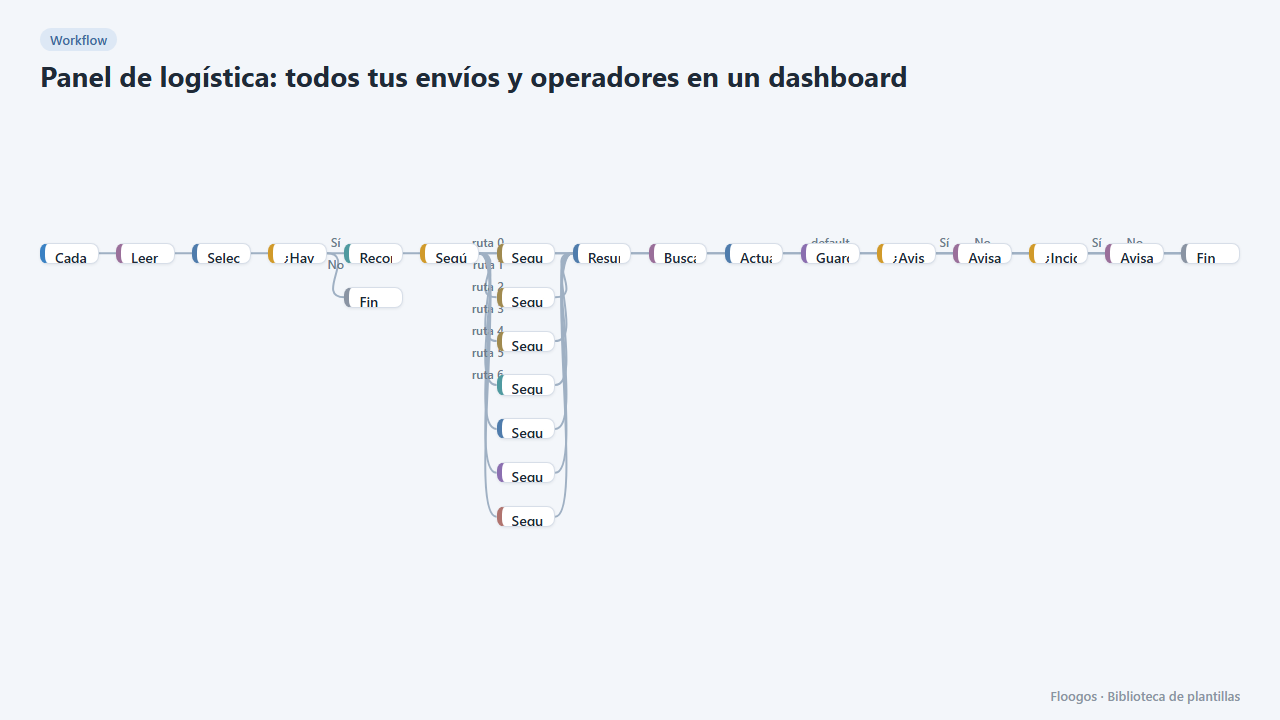
Logistics panel: all your shipments and carriers in one dashboard
Dashboard with KPIs, charts, filters and a side detail panel per shipment, fed by automatic tracking of DHL, FedEx, UPS, SEUR, Sendcloud, Shippo and EasyPost.
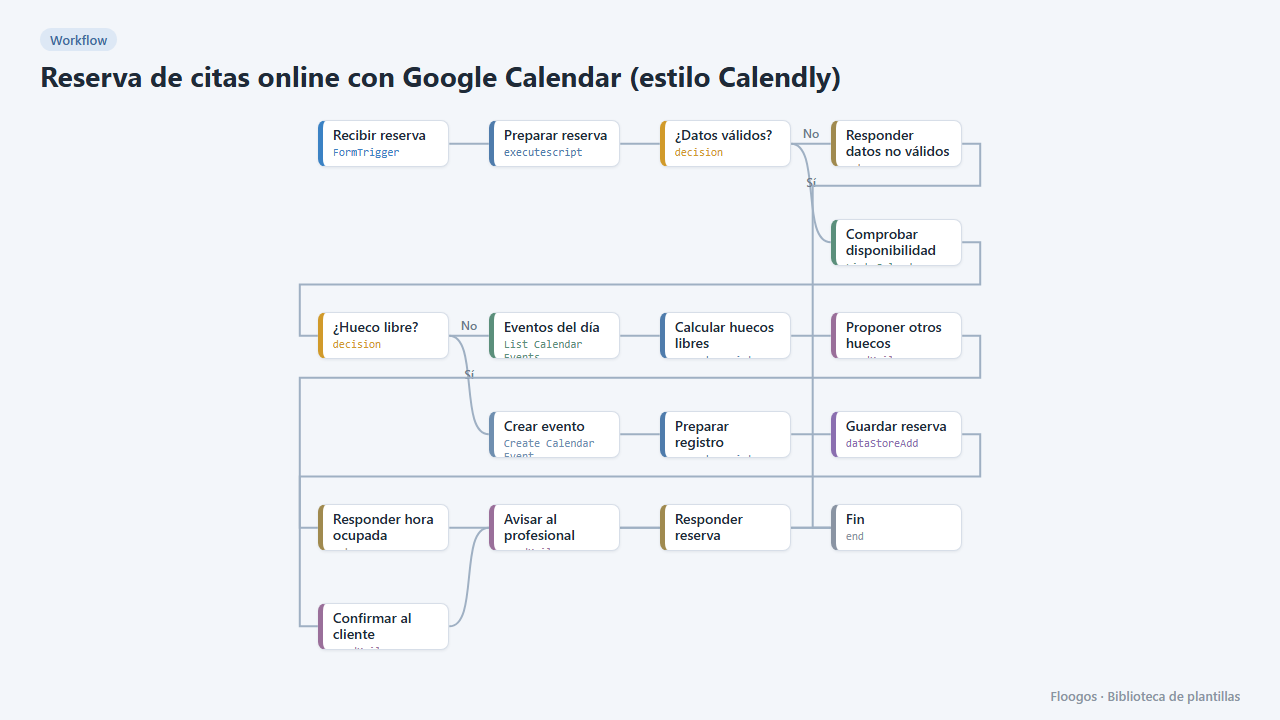
Online appointment booking with Google Calendar (Calendly-style)
A public form for your customers to book an appointment: it checks your Google Calendar, creates the event, confirms by email and, if the slot is taken, suggests the free slots of that day.
Try it in under 5 minutes
Create the template in your account, connect your credentials and activate it when you are ready.
Use this template