
AI agent that answers your customers on WhatsApp
Every WhatsApp message you receive is answered by an AI agent that remembers the conversation, and the reply goes back to the customer on the same channel.
Everything is created inactive in a new folder of your account. Nothing runs until you activate it, and you can undo it for 24 hours.
What it does
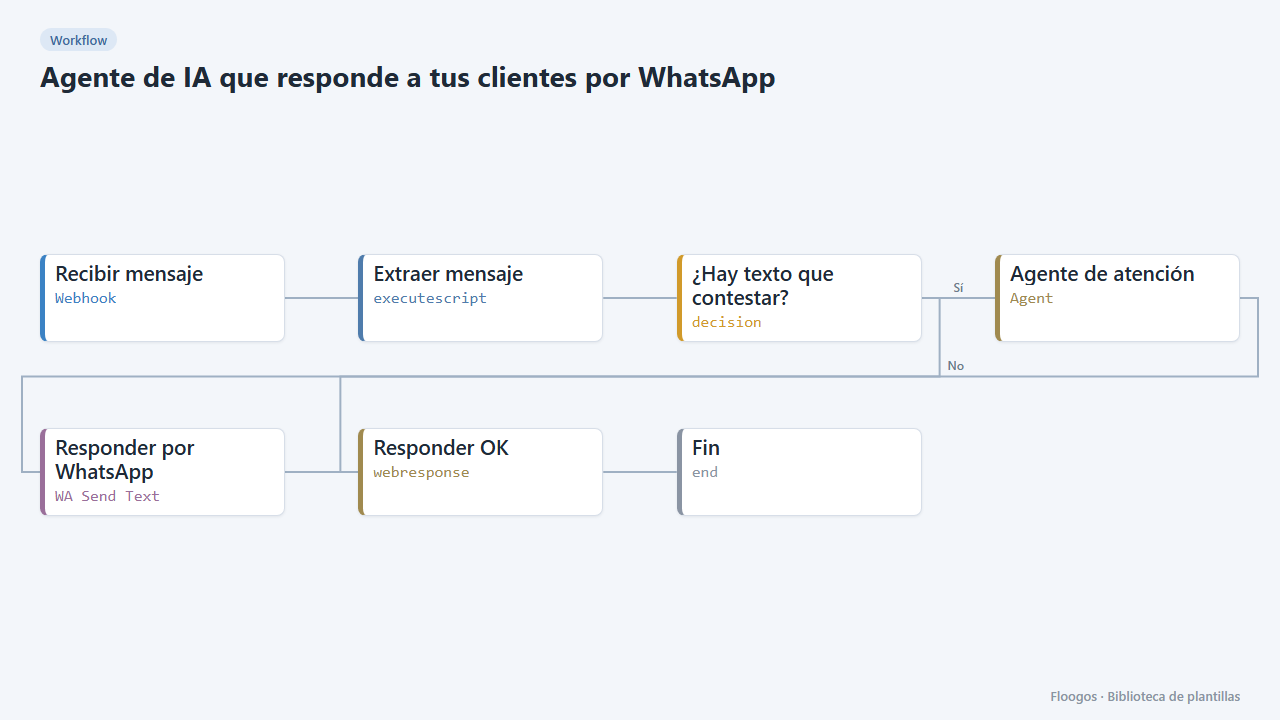
A conversational agent with memory handles your customers on WhatsApp. The workflow receives the message through a webhook, hands it to the AI Agent (which remembers what was said before with that same phone number) and sends the reply with WhatsApp Business. Notifications that are not text messages (read receipts, statuses) are ignored.
What you need: an OpenAI API key (or another provider supported by the AI Agent node) and a WhatsApp Business Cloud API account.
What your webhook must send: {"phone":"34600111222","message":"Hello"}, or Meta native format (entry[0].changes[0].value.messages[0]), which the workflow also understands. Note: Meta requires the callback URL to answer its initial verification (hub.challenge), which the Webhook node does not do; if you connect Meta directly you need a small relay that answers that verification and forwards the messages to this webhook.
How to use it: install the template, connect OpenAI and WhatsApp, customise the agent instructions and send test messages to the webhook.
How to set it up
- 1
Connect the openai credential
This template uses openai in: Agente de atención. Create or pick the credential and assign it in those nodes.
- 2
Connect the whatsapp_business credential
This template uses whatsapp_business in: Responder por WhatsApp. Create or pick the credential and assign it in those nodes.
- 3
Copy the webhook URL (Recibir mensaje)
A new URL is generated on install. Paste it into the external system that must call this workflow.
- 4
Customise the agent
In the Agente de atención node write in the instructions (
system_prompt) who your company is, what it can answer and when it should hand over to a person. Connect the OpenAI credential. - 5
Connect WhatsApp
Set up the Responder por WhatsApp node with your WhatsApp Business account (token and phoneNumberId).
- 6
Test a conversation
Send a
POSTto the webhook URL with{"phone":"34600111222","message":"Hi, what are your opening hours?"}. The customer receives the reply; a second message from the same phone continues the conversation. - 7
Activate the workflow
Workflows are installed inactive. Once everything is set, activate it.
Related templates
Other templates that use similar nodes or integrations.
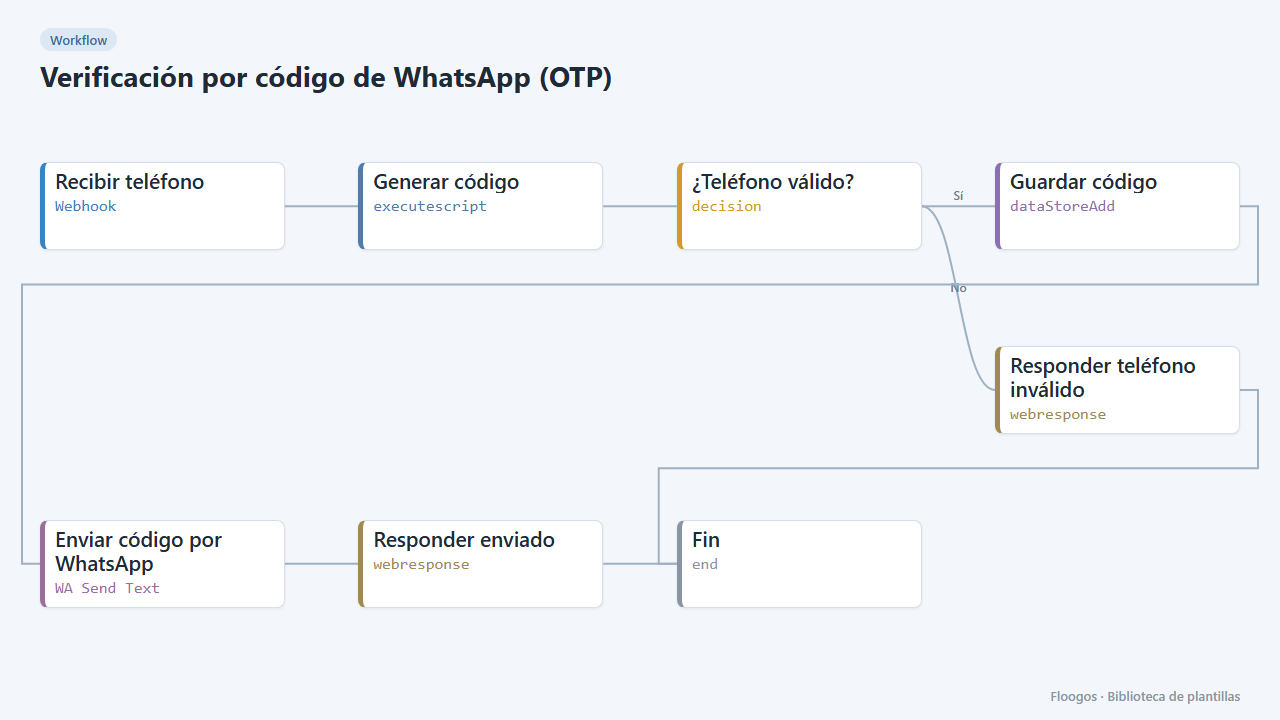
WhatsApp one-time code verification (OTP)
Send a 6-digit code over WhatsApp and verify it afterwards: two ready-made webhooks to validate your users phone numbers.
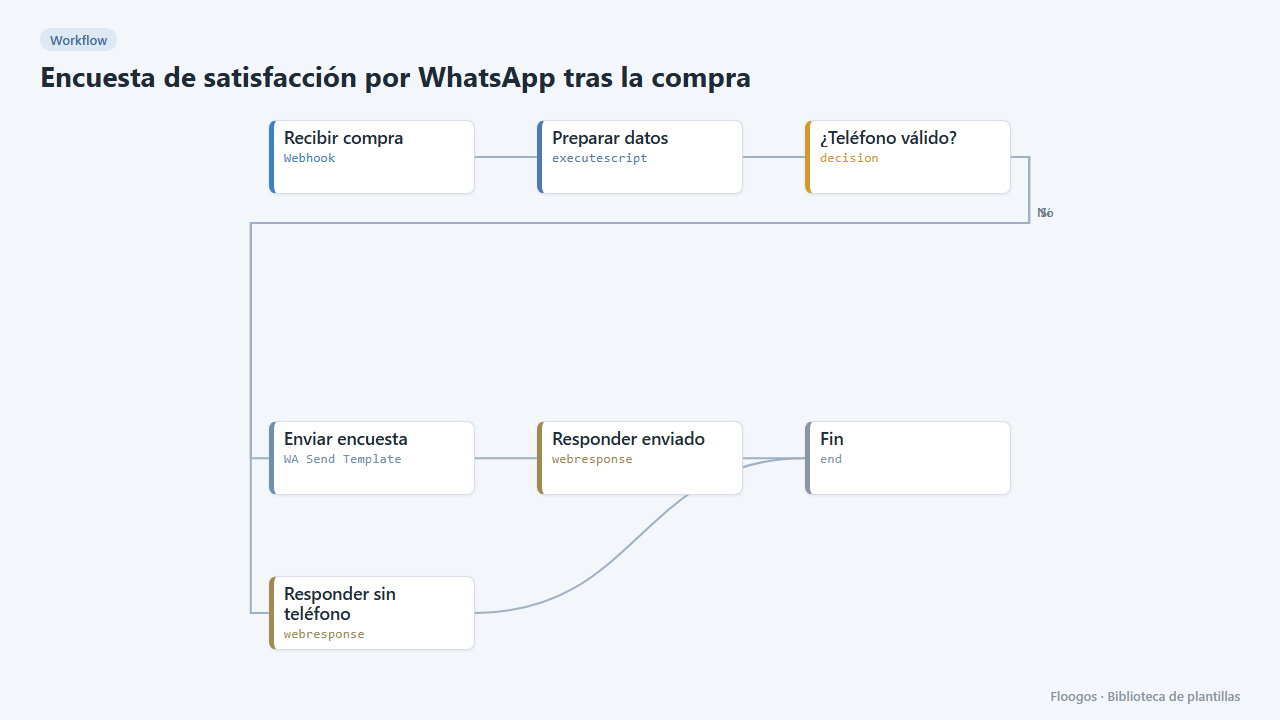
Post-purchase satisfaction survey via WhatsApp
Asks the customer how their purchase went with three quick-reply buttons and stores each rating in a Data Store.
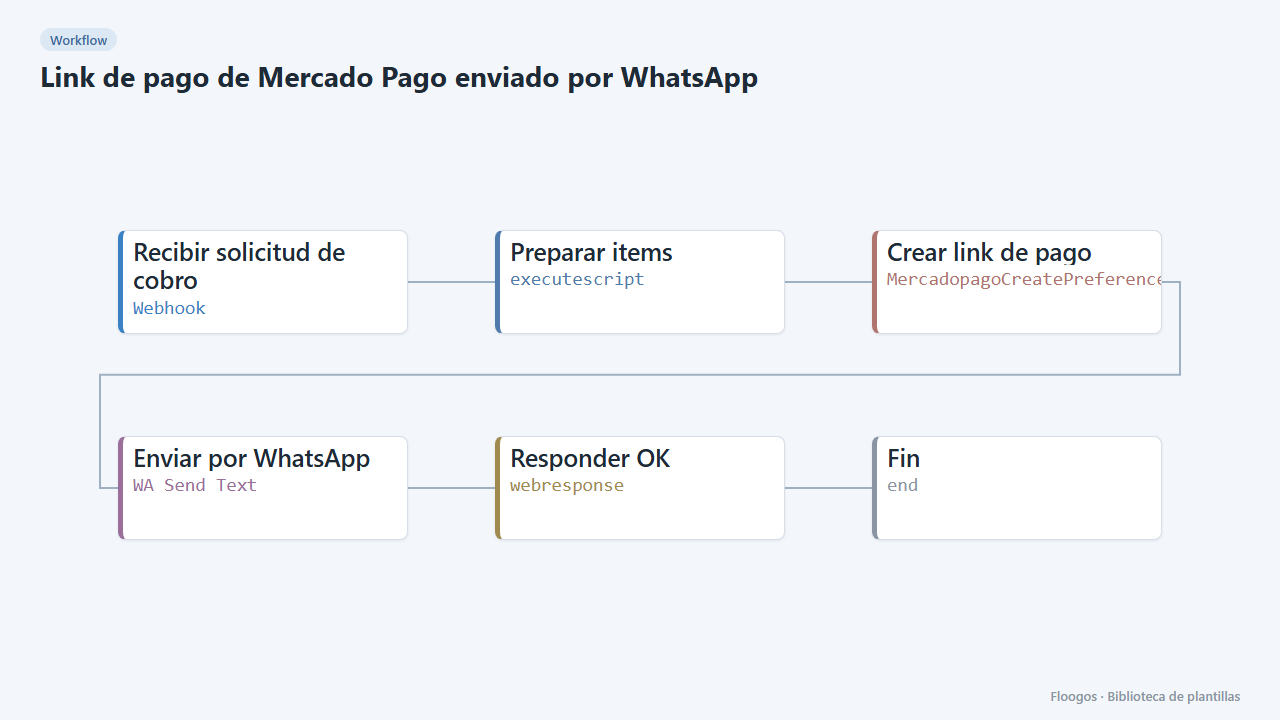
Mercado Pago payment link sent via WhatsApp
Creates the Mercado Pago payment link and sends it to the customer on WhatsApp Business right away.
Try it in under 5 minutes
Create the template in your account, connect your credentials and activate it when you are ready.
Use this template